Make it easy for yourself!
After the download and installation, it’s time for the first launch.
1. Before the first launch
Take 5 minutes: With just a few tweaks, darktable can be made more beautiful, faster, more practical, and clearer.
- Modern Dark Theme (with visible shortcuts) – easy on the eyes
- Module Preset – the modules you really need to edit 99% of your photos
- Shortcut file for a fast and simple workflow
Download our Starter-Kit (ZIP). It contains everything you need to make darktable clear and fast.
Extract the ZIP file. Inside you will find a folder named themes and two files (shortcutsrc_pro.txt and DT Pro.dtpreset). Now copy the entire content of the themes folder to:
# Linux / MacOS
~/.config/darktable/themes/
# Windows
%LOCALAPPDATA%\darktable\themes\2. After the first launch
Step 1: Activate the modern theme
Activate the DT Pro – Shortcuts theme:
- Go to the preferences (gear icon).
- Select the “general” tab.
- Select the “DT Pro” theme. You can switch to DT Pro X (later) if you no longer need help with the shortcuts.
Stay in the preferences!
Step 2: Import shortcuts
Nothing speeds up image editing as much as using keyboard shortcuts. Instead of clicking through menus (tabs), you can open a module with a simple keystroke.
- In the preferences window, switch to the “shortcuts” tab.
- Click the “import…” button at the bottom right.
- Navigate to the downloaded files and open
shortcutsrc_pro.txt.
Step 3: Import module preset
- In the preferences window, select the “presets” tab.
- Click the “import…” button at the bottom right.
- Look for
DarktablePro.dtpresetin your downloaded files and click “Open”. - You can now close the preferences window.

Step 4: Activate preset
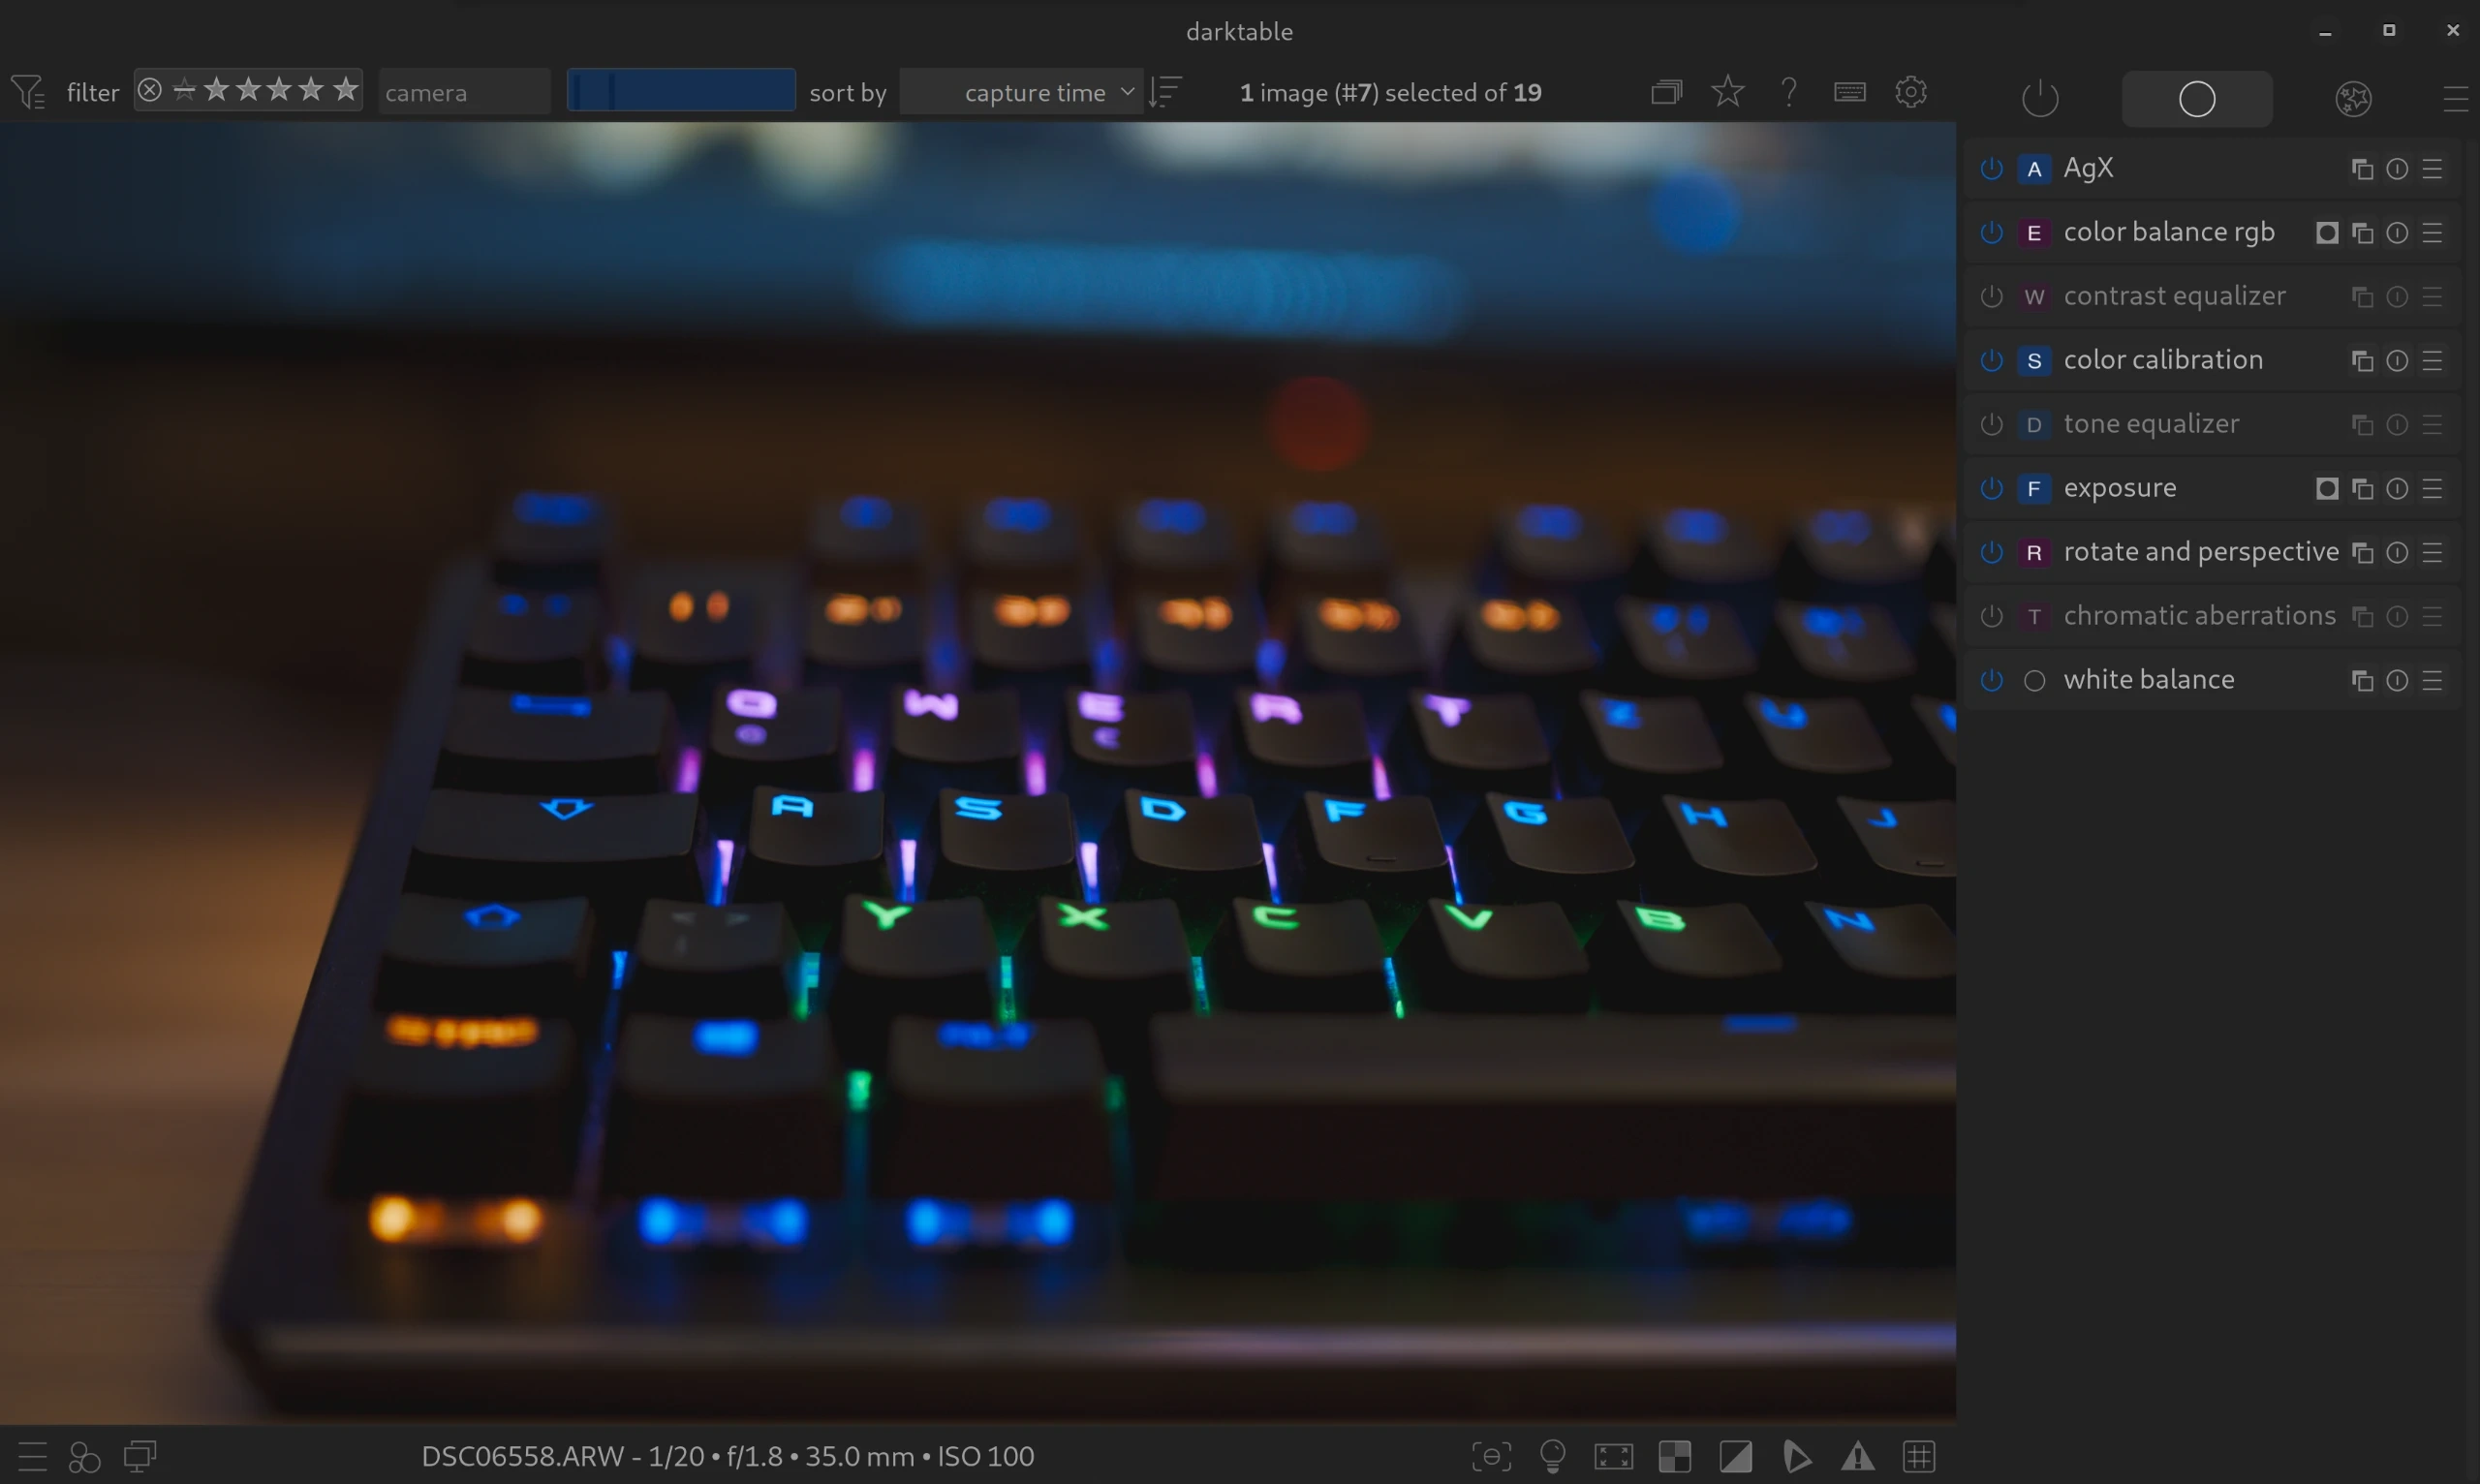
- Switch to the darkroom
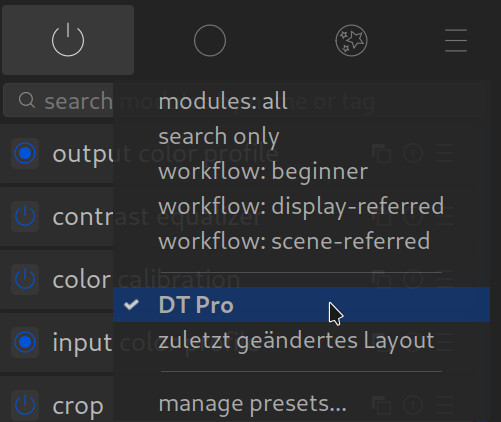
- Look on the right side under the histogram for the heading “module groups”.
- Click on the icon with the three horizontal lines (hamburger menu) right next to it.
- Now select “DT Pro” from the list.
Done!
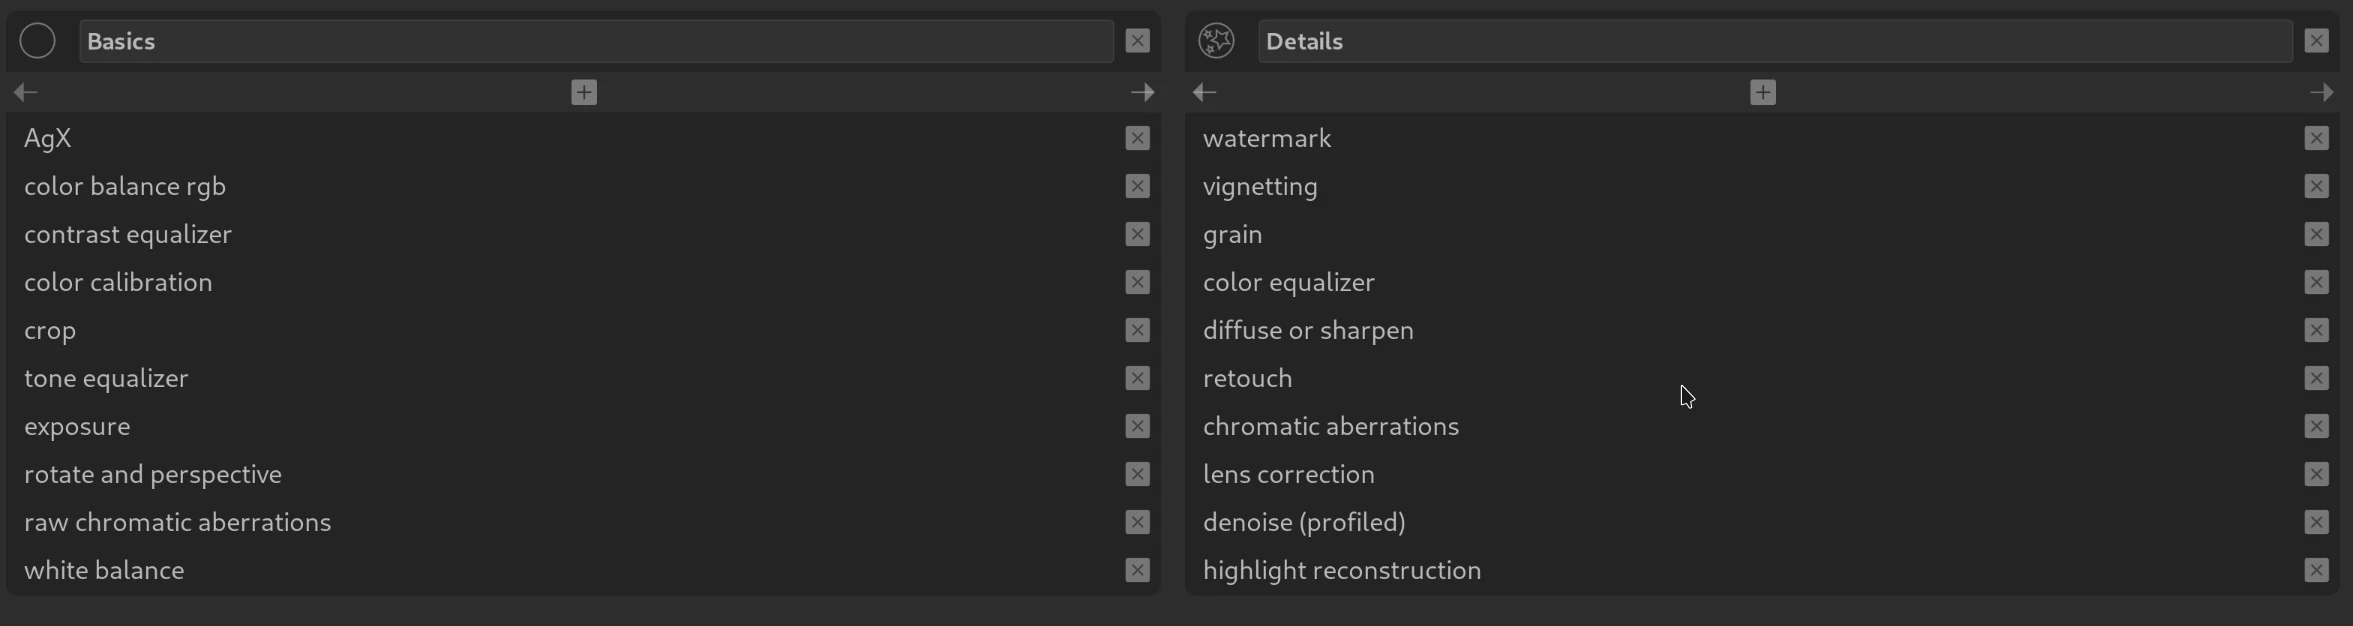
Now you have exactly the clean and professional view with the two tabs “Basics” and “Details”.
Normally we are done at this point. Please check the following two points anyway!
Scene-referred workflow
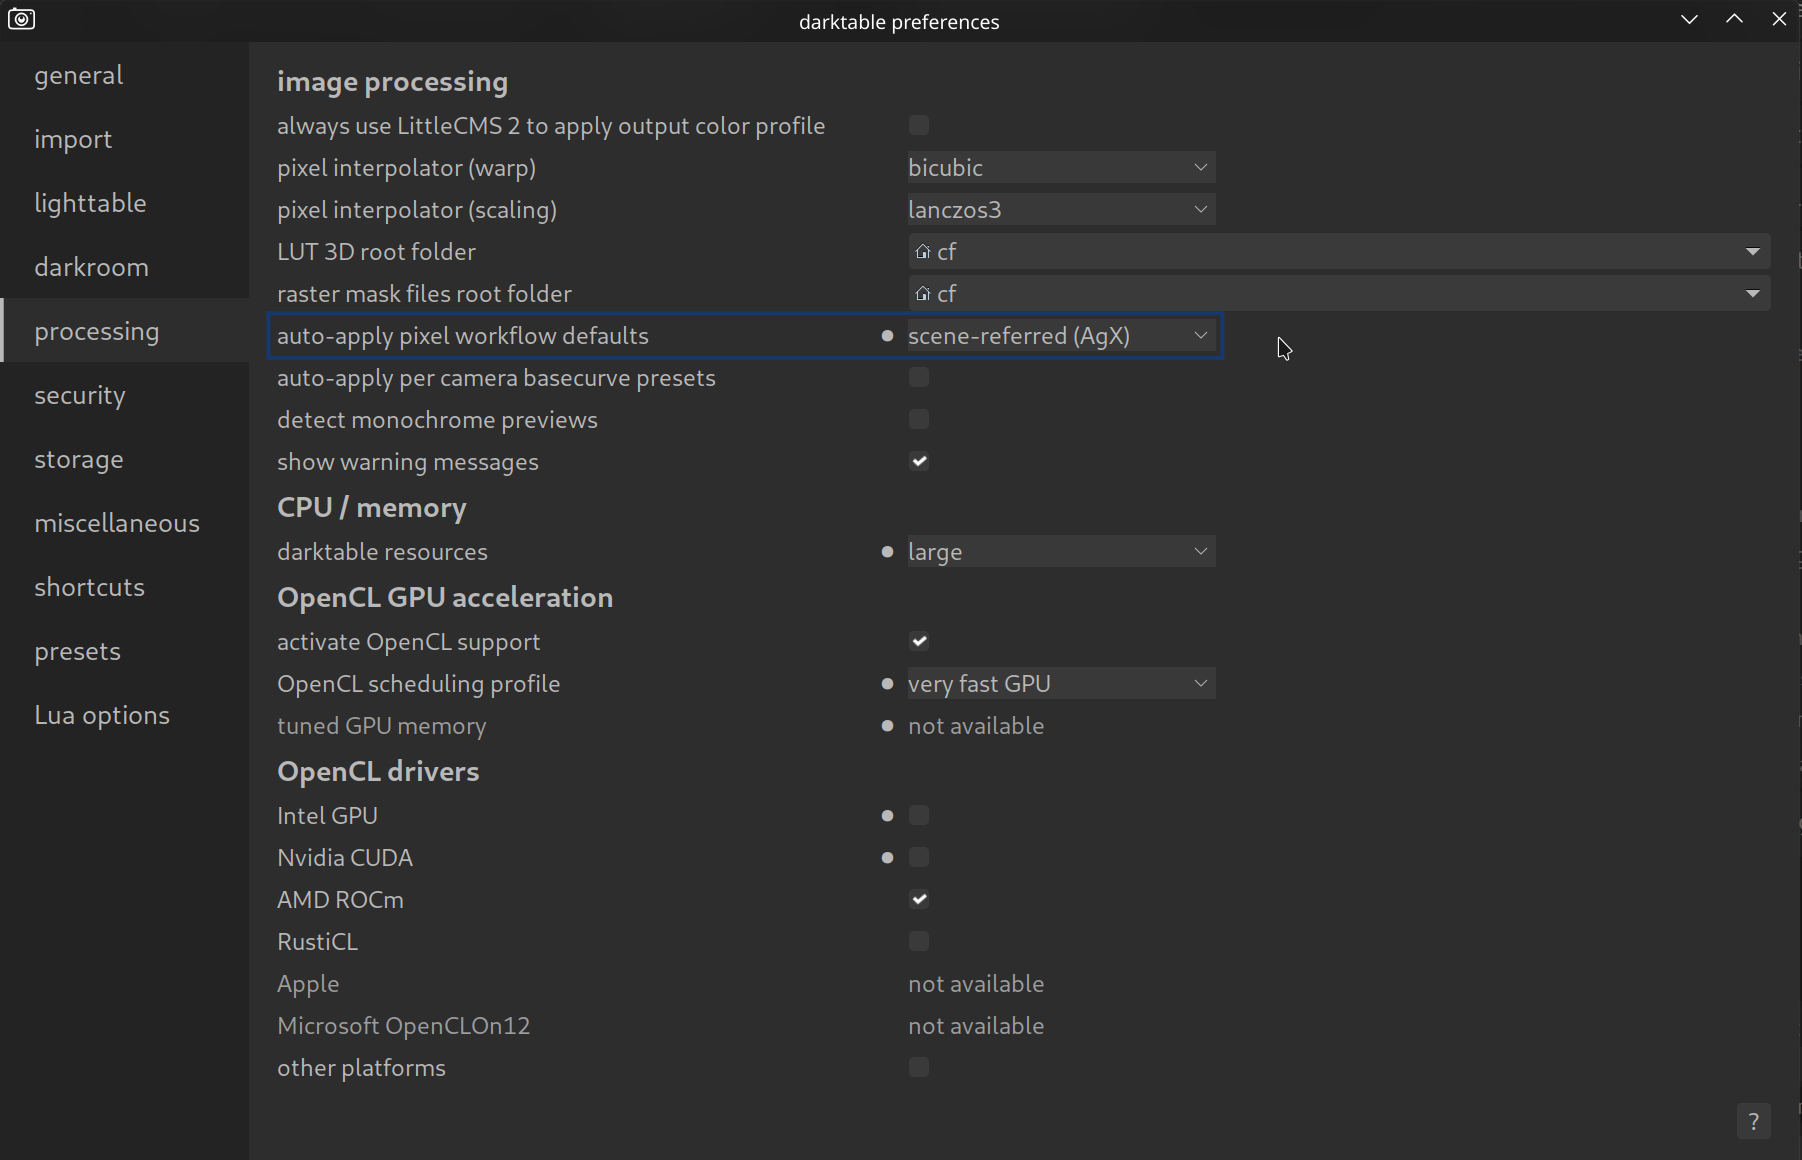
The most important thing: darktable offers two basic ways of working. For the best quality and modern editing, you should make sure that you are working in the scene-referred workflow AgX.
This can be found in the preferences under processing > “auto-apply pixel workflow defaults”. By default, this should be set to “scene-referred“.
You can find out why this is important and how it works here:
Once activated, AgX forms the solid foundation for all further edits.
Performance boost: Activate OpenCL
Darktable can be very computationally intensive, especially when you use modern modules like “diffuse or sharpen” or “denoise (profiled)”. If your computer stutters when zooming or exporting takes forever, it is often because darktable is only using the processor (CPU) and ignoring your graphics card (GPU).
The solution is called OpenCL. This allows darktable to use your graphics card to help with the calculations. This can speed up the export by a factor of 10, for example!
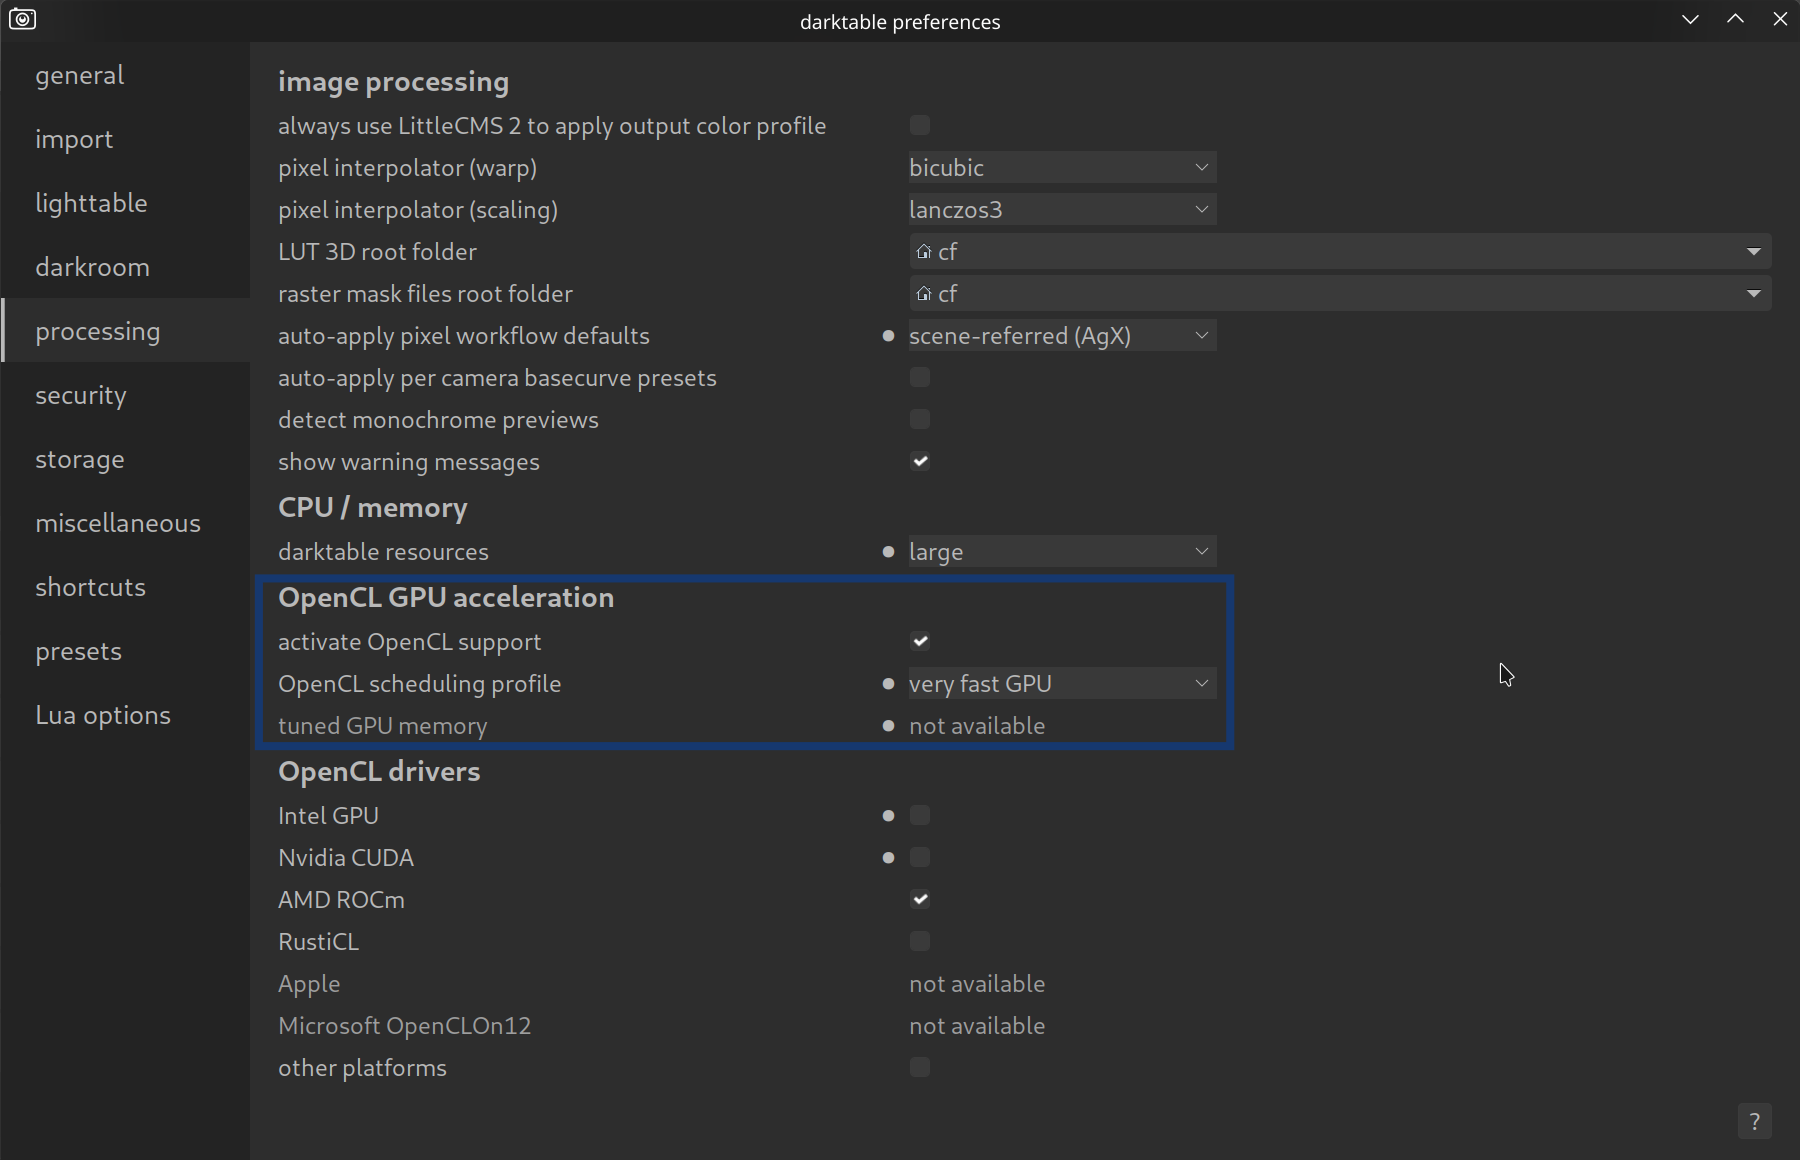
How to check if OpenCL is active:
- Go to the preferences (gear icon top right).
- Select the “processing” tab.
- Look for the item “activate OpenCL support”.
- Make sure that this box is checked.
You can find more about OpenCL in the section: Performance.
No experience with darktable yet? Darktable Quick Start
Already know the basics? Standard Workflow
March 11, 2026