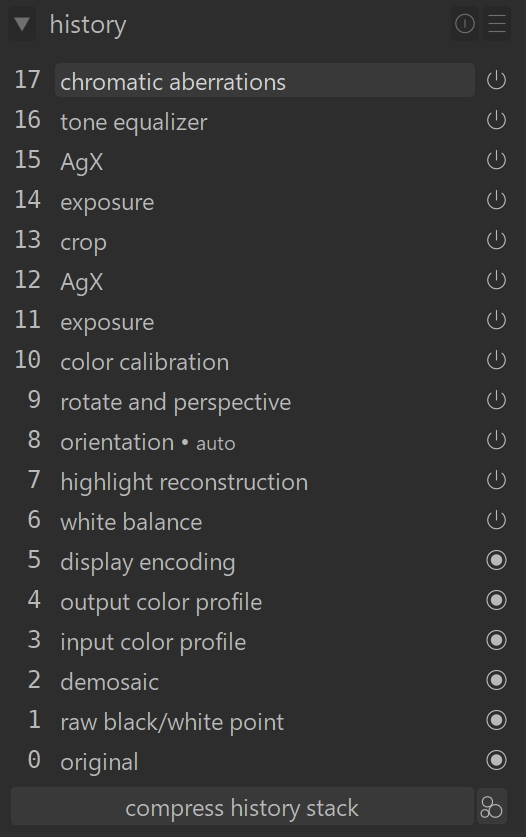
History Stack
The History Stack keeps track of every edit you make to an image in darktable. Think of it like a timeline: each step shows what you changed and when you changed it. This history is saved automatically in darktable’s library database and in the image’s XMP sidecar file, so your edits stay safe even if you close darktable or come back days later.
How the History Stack Works
- Every time you enable, disable, move, or change a processing module, darktable adds a new step to the top of the history stack.
- You can view and edit this stack in the History Stack module inside the darkroom view.
- The stack shows the order in which you made changes — not the order in which darktable processes modules.
- The actual processing order is shown in the right-hand panel where the modules are listed.
Using the History Stack
Viewing and Navigating Edits
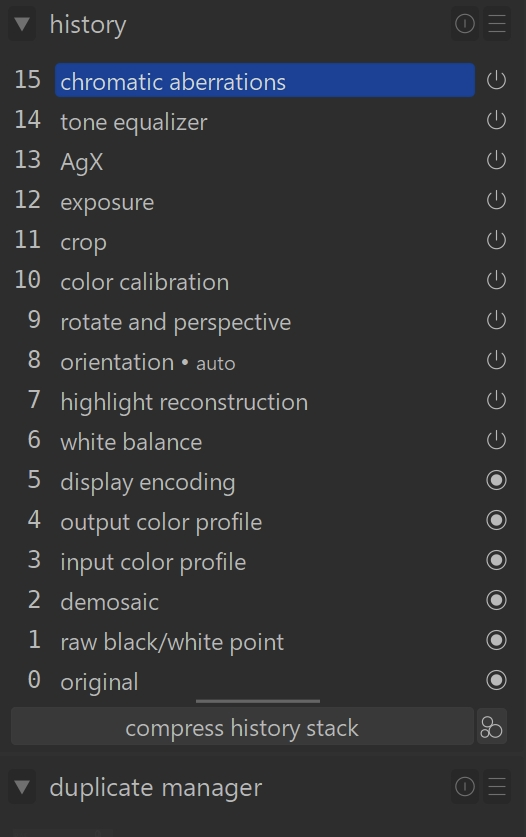
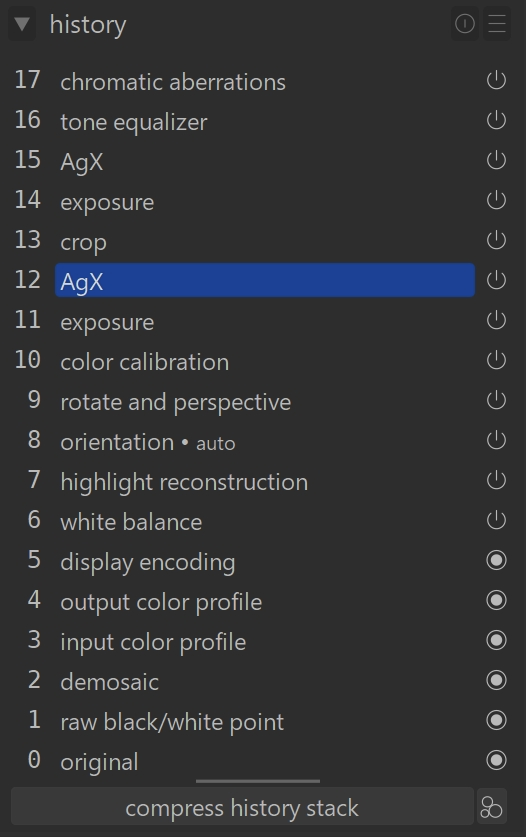
- The module lists every change you’ve made to the current image.
- Click any step to jump back to that moment in your editing process.
- Shift+click a step to open that module in the right-hand panel without changing your current edit.
Important Warning
- If you select an earlier step and then make new edits, everything above that step is deleted.
- This can cause you to lose work, so be careful.
- If it happens, Ctrl+Z usually brings it back.
Safe to Leave Anytime
You can switch images, exit darkroom mode, or quit darktable entirely after selecting any step. When you return, the History Stack will look exactly the way you left it.
Helpful Tools in the History Stack
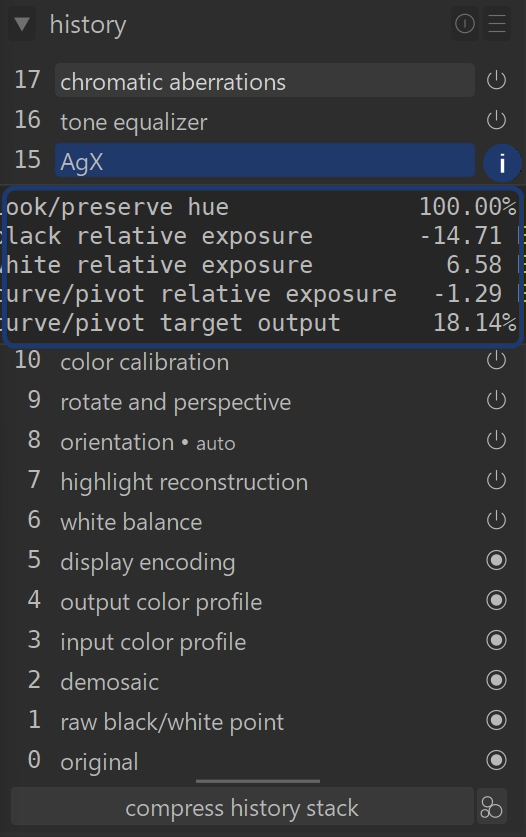
Tooltips
Hover your mouse over any step to see a tooltip showing exactly what changed in that module. This is great for spotting small adjustments you didn’t mean to make.
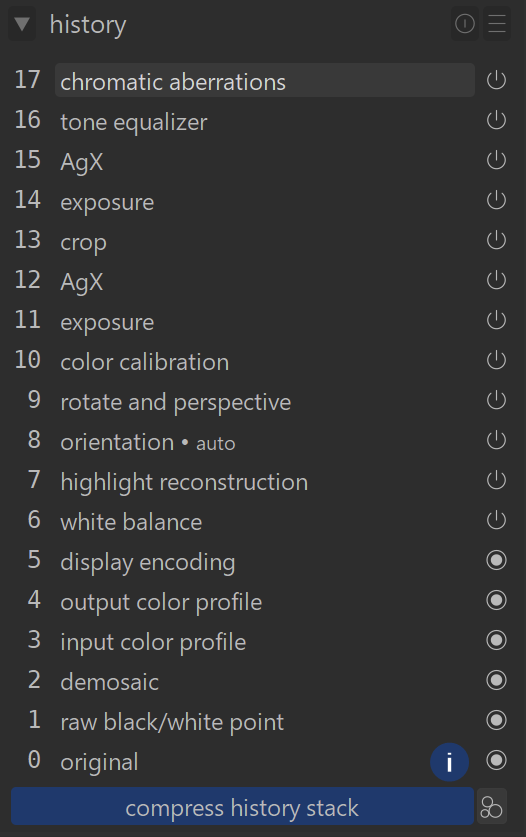
Compressing the History Stack
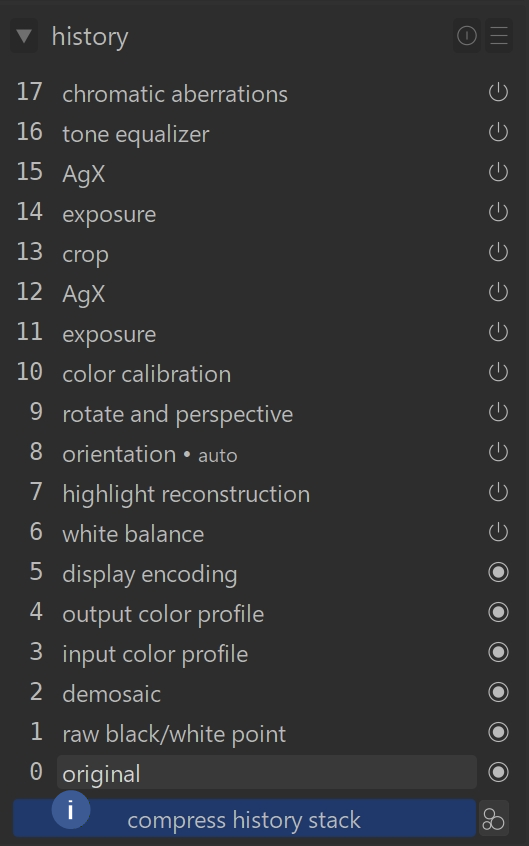
“compress history stack”
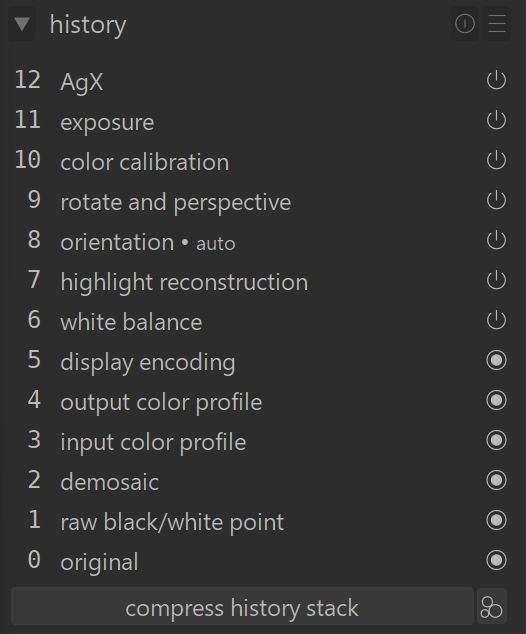
This creates the shortest possible history that still produces the same final image.
- All steps above the currently selected one are removed.
- If a module appears multiple times, those steps are combined into one.
Ctrl + “compress history stack”
This truncates the stack:
- Steps above the selected one are removed.
- Remaining steps are not combined.
Resetting Everything
Click “reset parameters” in the module header to:
- Remove the entire history stack
- Return all modules to their default settings

You can also do this by selecting “original” in the stack and then clicking “compress history stack.”
Creating Styles from Your Edits

The button next to “compress history stack” lets you turn your current edits into a Style you can reuse on other images.
- Click “create a style…”
In the popup:
- Enter a name for your style.
- Add a description so you can find it later.
- Choose which modules from the history stack should be included.
- Click “save”.
Once created:
- Manage and apply styles in the lighttable using the styles module.
- Assign shortcut keys in preferences > shortcuts.
- Use the shortcut to apply the style to all selected images in either lighttable or darkroom.
For more information, view darktable’s official manual page: “history stack”.
Questions about this topic? Discuss it with us in the forum!
February 2, 2026