You can find the current darktable version 5.4 here: (https://github.com/darktable-org/darktable/releases).
The First Launch
Darktable is (very) extensive. This is an advantage “later”, but can be overwhelming in the beginning. For a quick and simple start, it is important to concentrate on the essentials.
You can find important help under Preferences.
At the first launch, darktable (DT) looks as follows; here we use a Custom Theme (optional).
The First Import
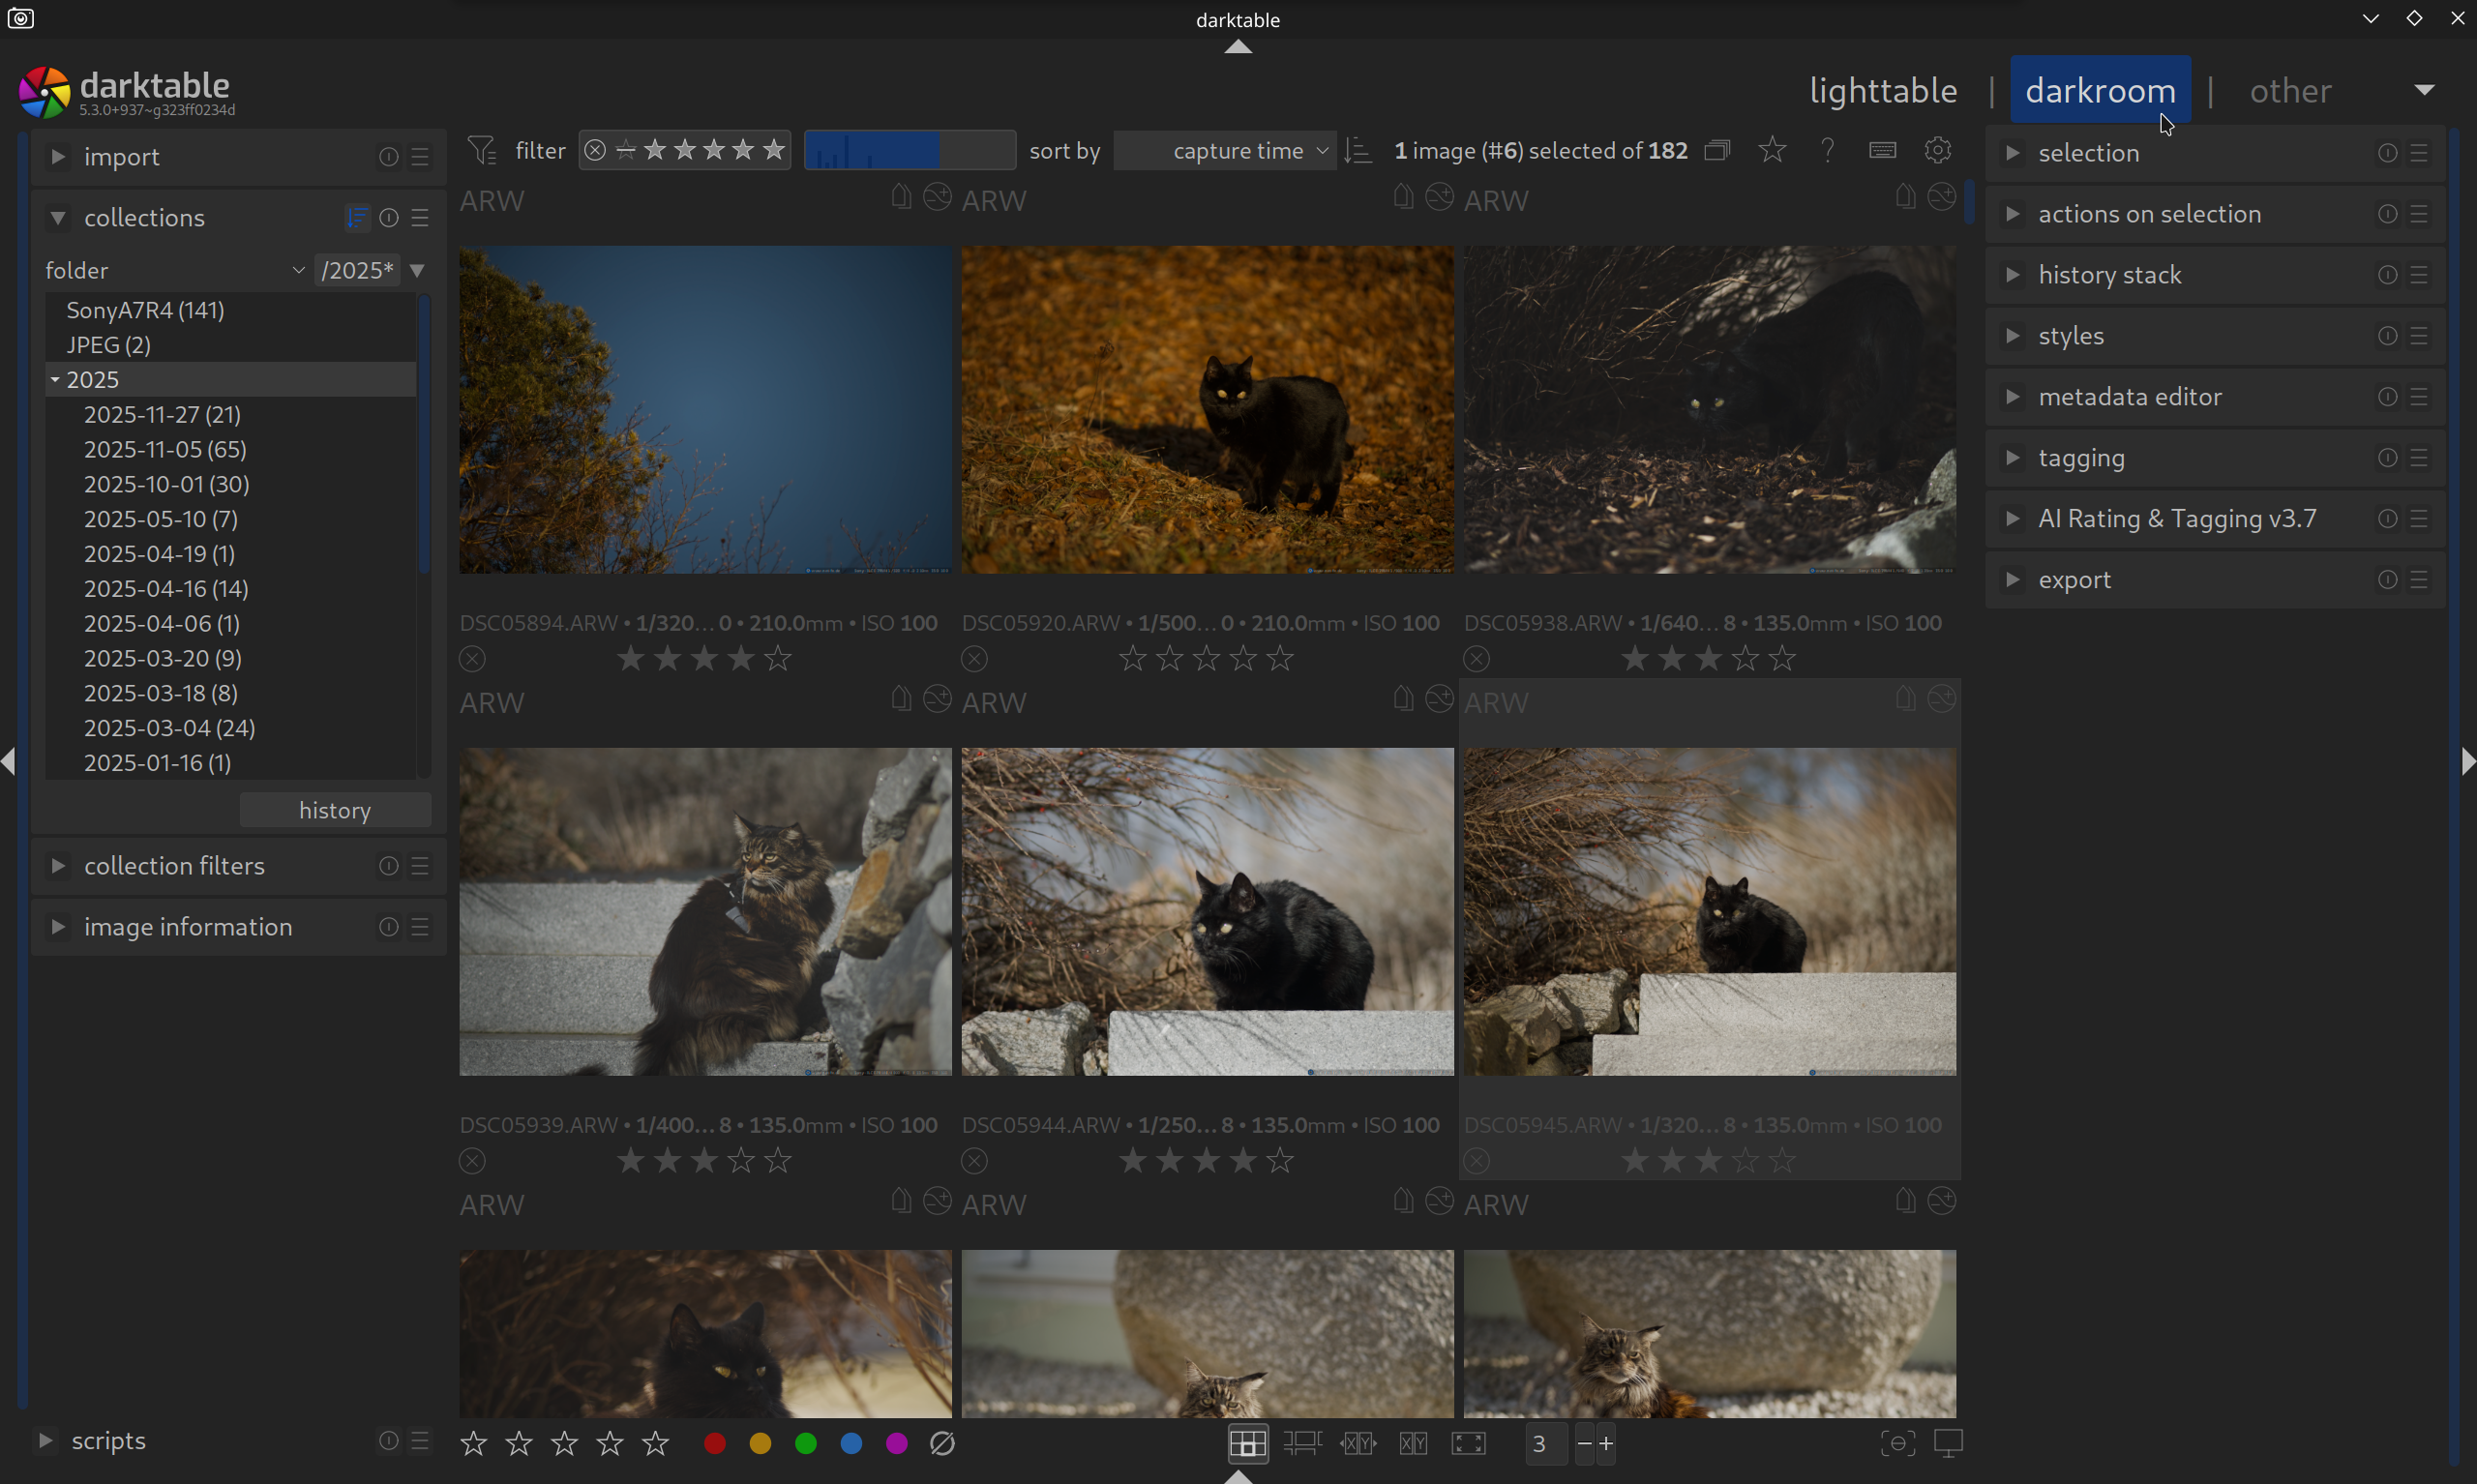
The first view in DT is the Lighttable, it serves for managing and culling your images.
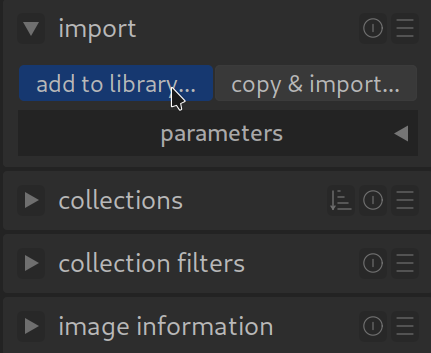
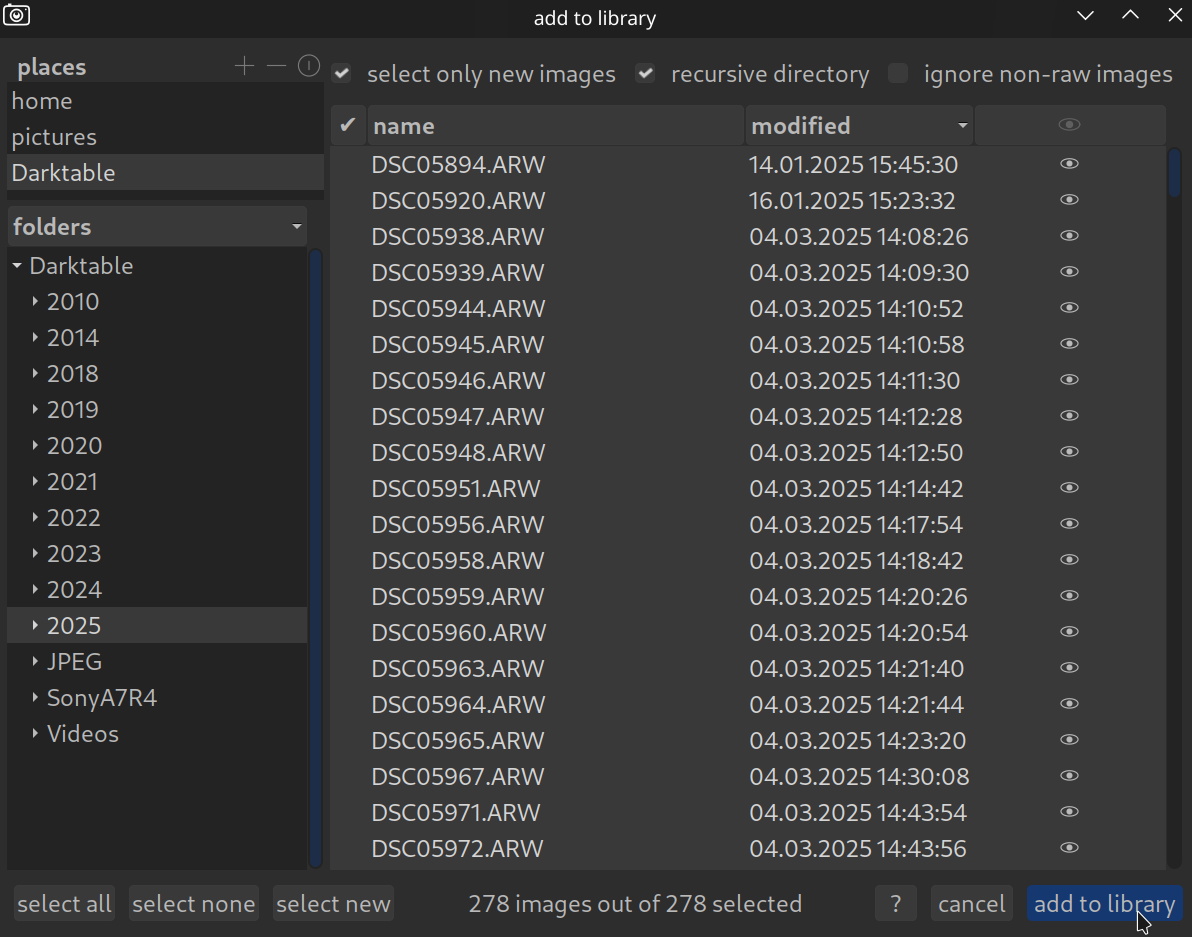
To add your photos, you will find the Import module for importing images at the top left.
There are two options:
- add to library…
- copy & import…
Add to library is used to import an existing collection.
Copy & import is used to import photos (from a camera for example) and copy them into a collection folder.
Before proceeding with the import, a brief word on how DT “handles” your photos. During import (& copy) the database is filled with storage location data and additional information, such as EXIF data.
At the same time, DT creates (unless set otherwise in preferences) sidecar XMP files. These serve, among other things, as a “backup” for editing and further information. If the database is damaged, all data (for the database) can be restored using the XMP sidecar files.
Important: DT is a non-destructive image editor; your image files are never directly modified! You can export them later with your edits applied.
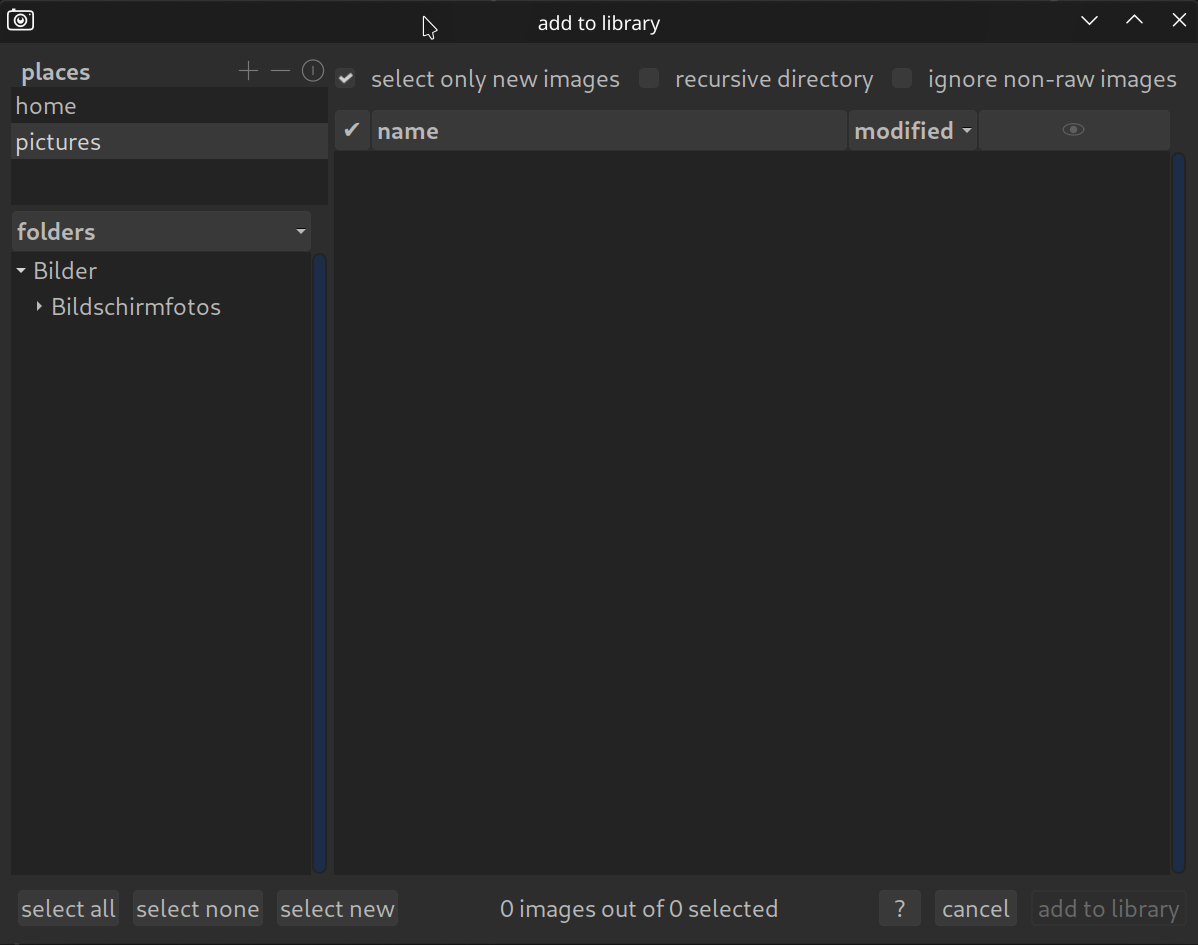
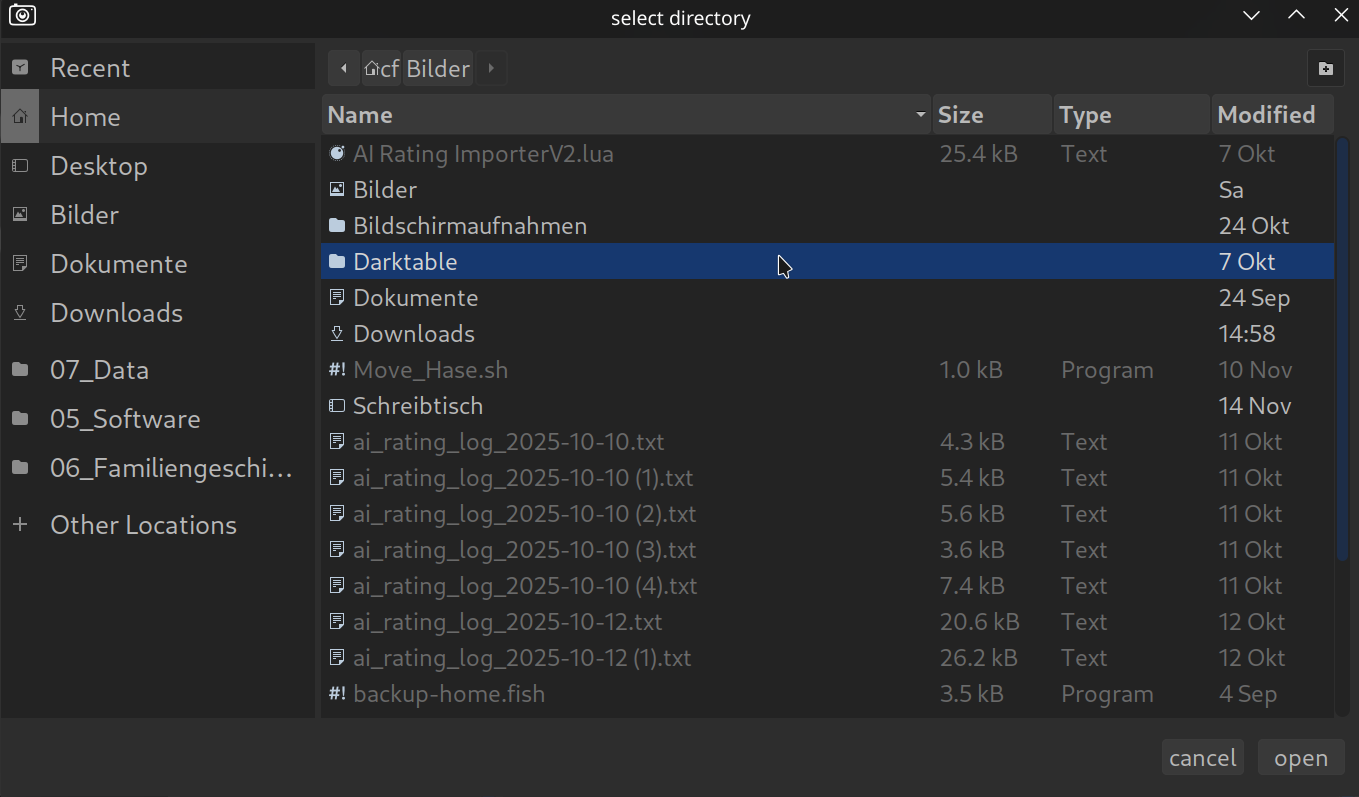
If the location of your photos is not listed, click on the “+”, the following view opens:
Confirm the folder containing your collection with “Open“.
This adds the folder with your collection to the locations.
If your collection is organized in subfolders, activate “recursive directory”. If you (like me) do not want to manage or edit your JPEG photos with DT, also activate “ignore non-raw files”.
Start the import with “Add to library“.
DT now displays your photos in the Lighttable.

Open the Collections module at the top left.
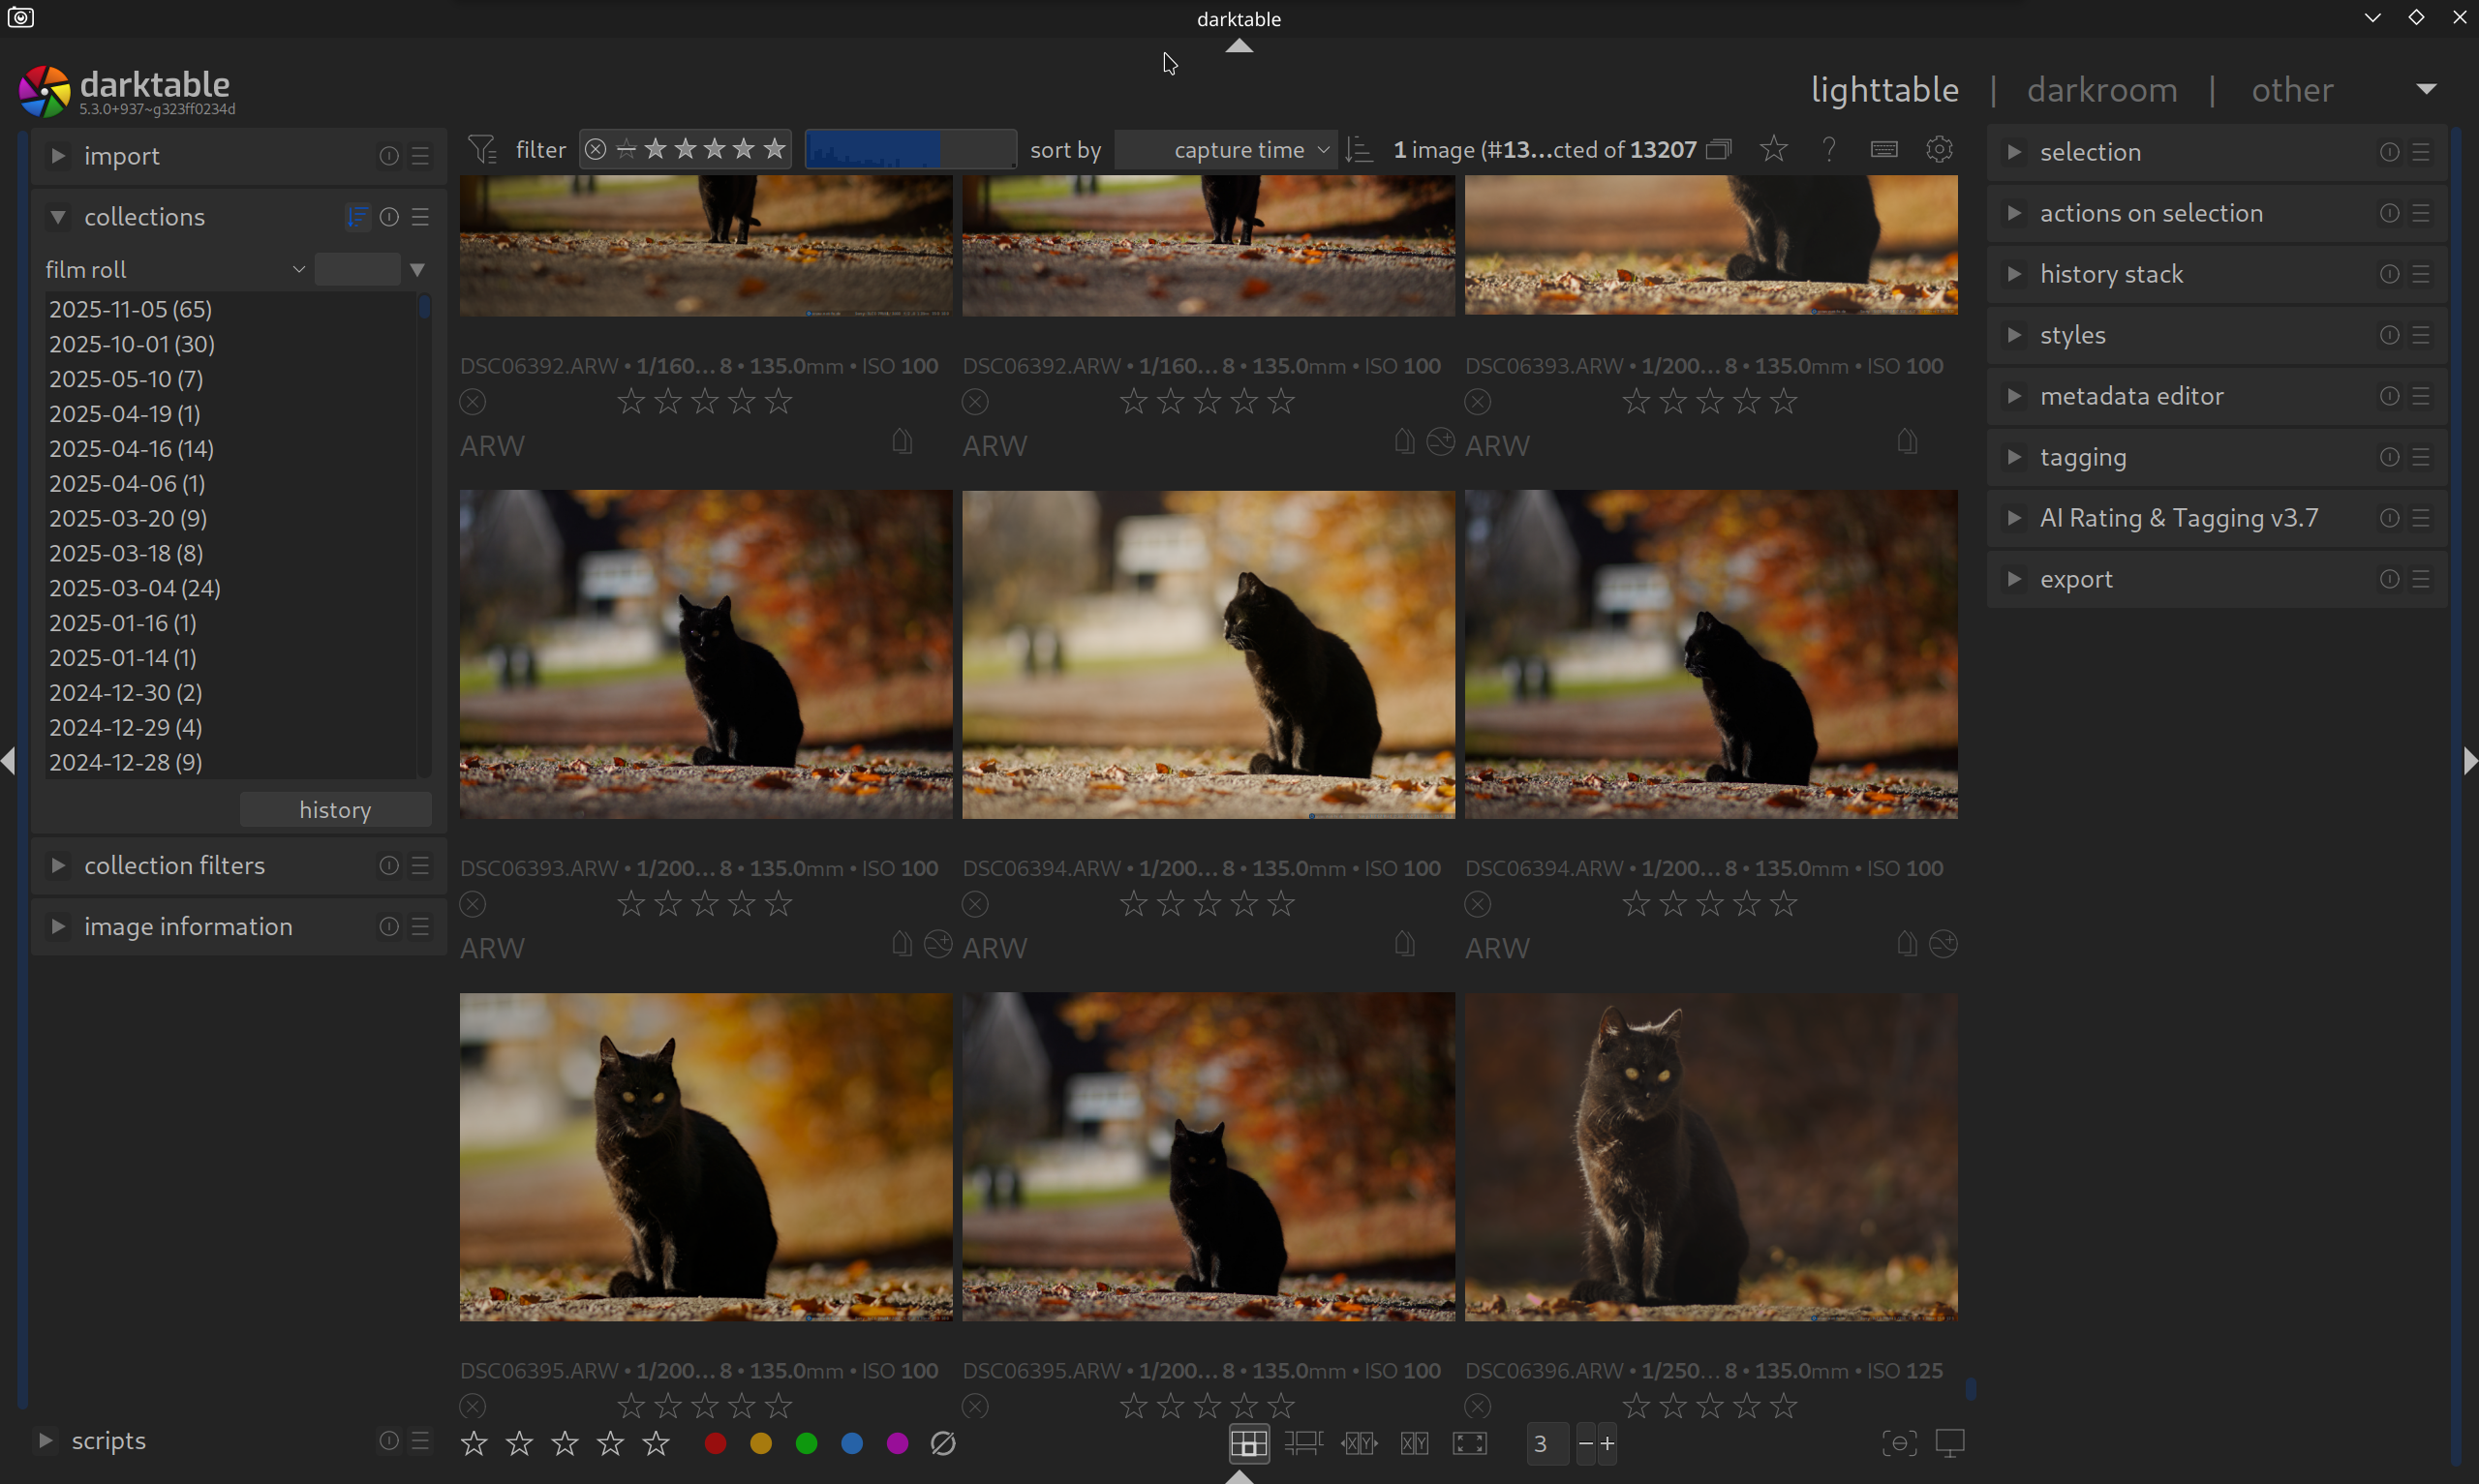
The default view in DT is “film roll”.
Click on “film roll” (in the second line after collections) to open the view options.
Especially for large collections, the folder view is recommended.
Here you also find the option to change the sort order.


With a double click (left mouse button) you open a folder; this displays all photos in the folder including subfolders.
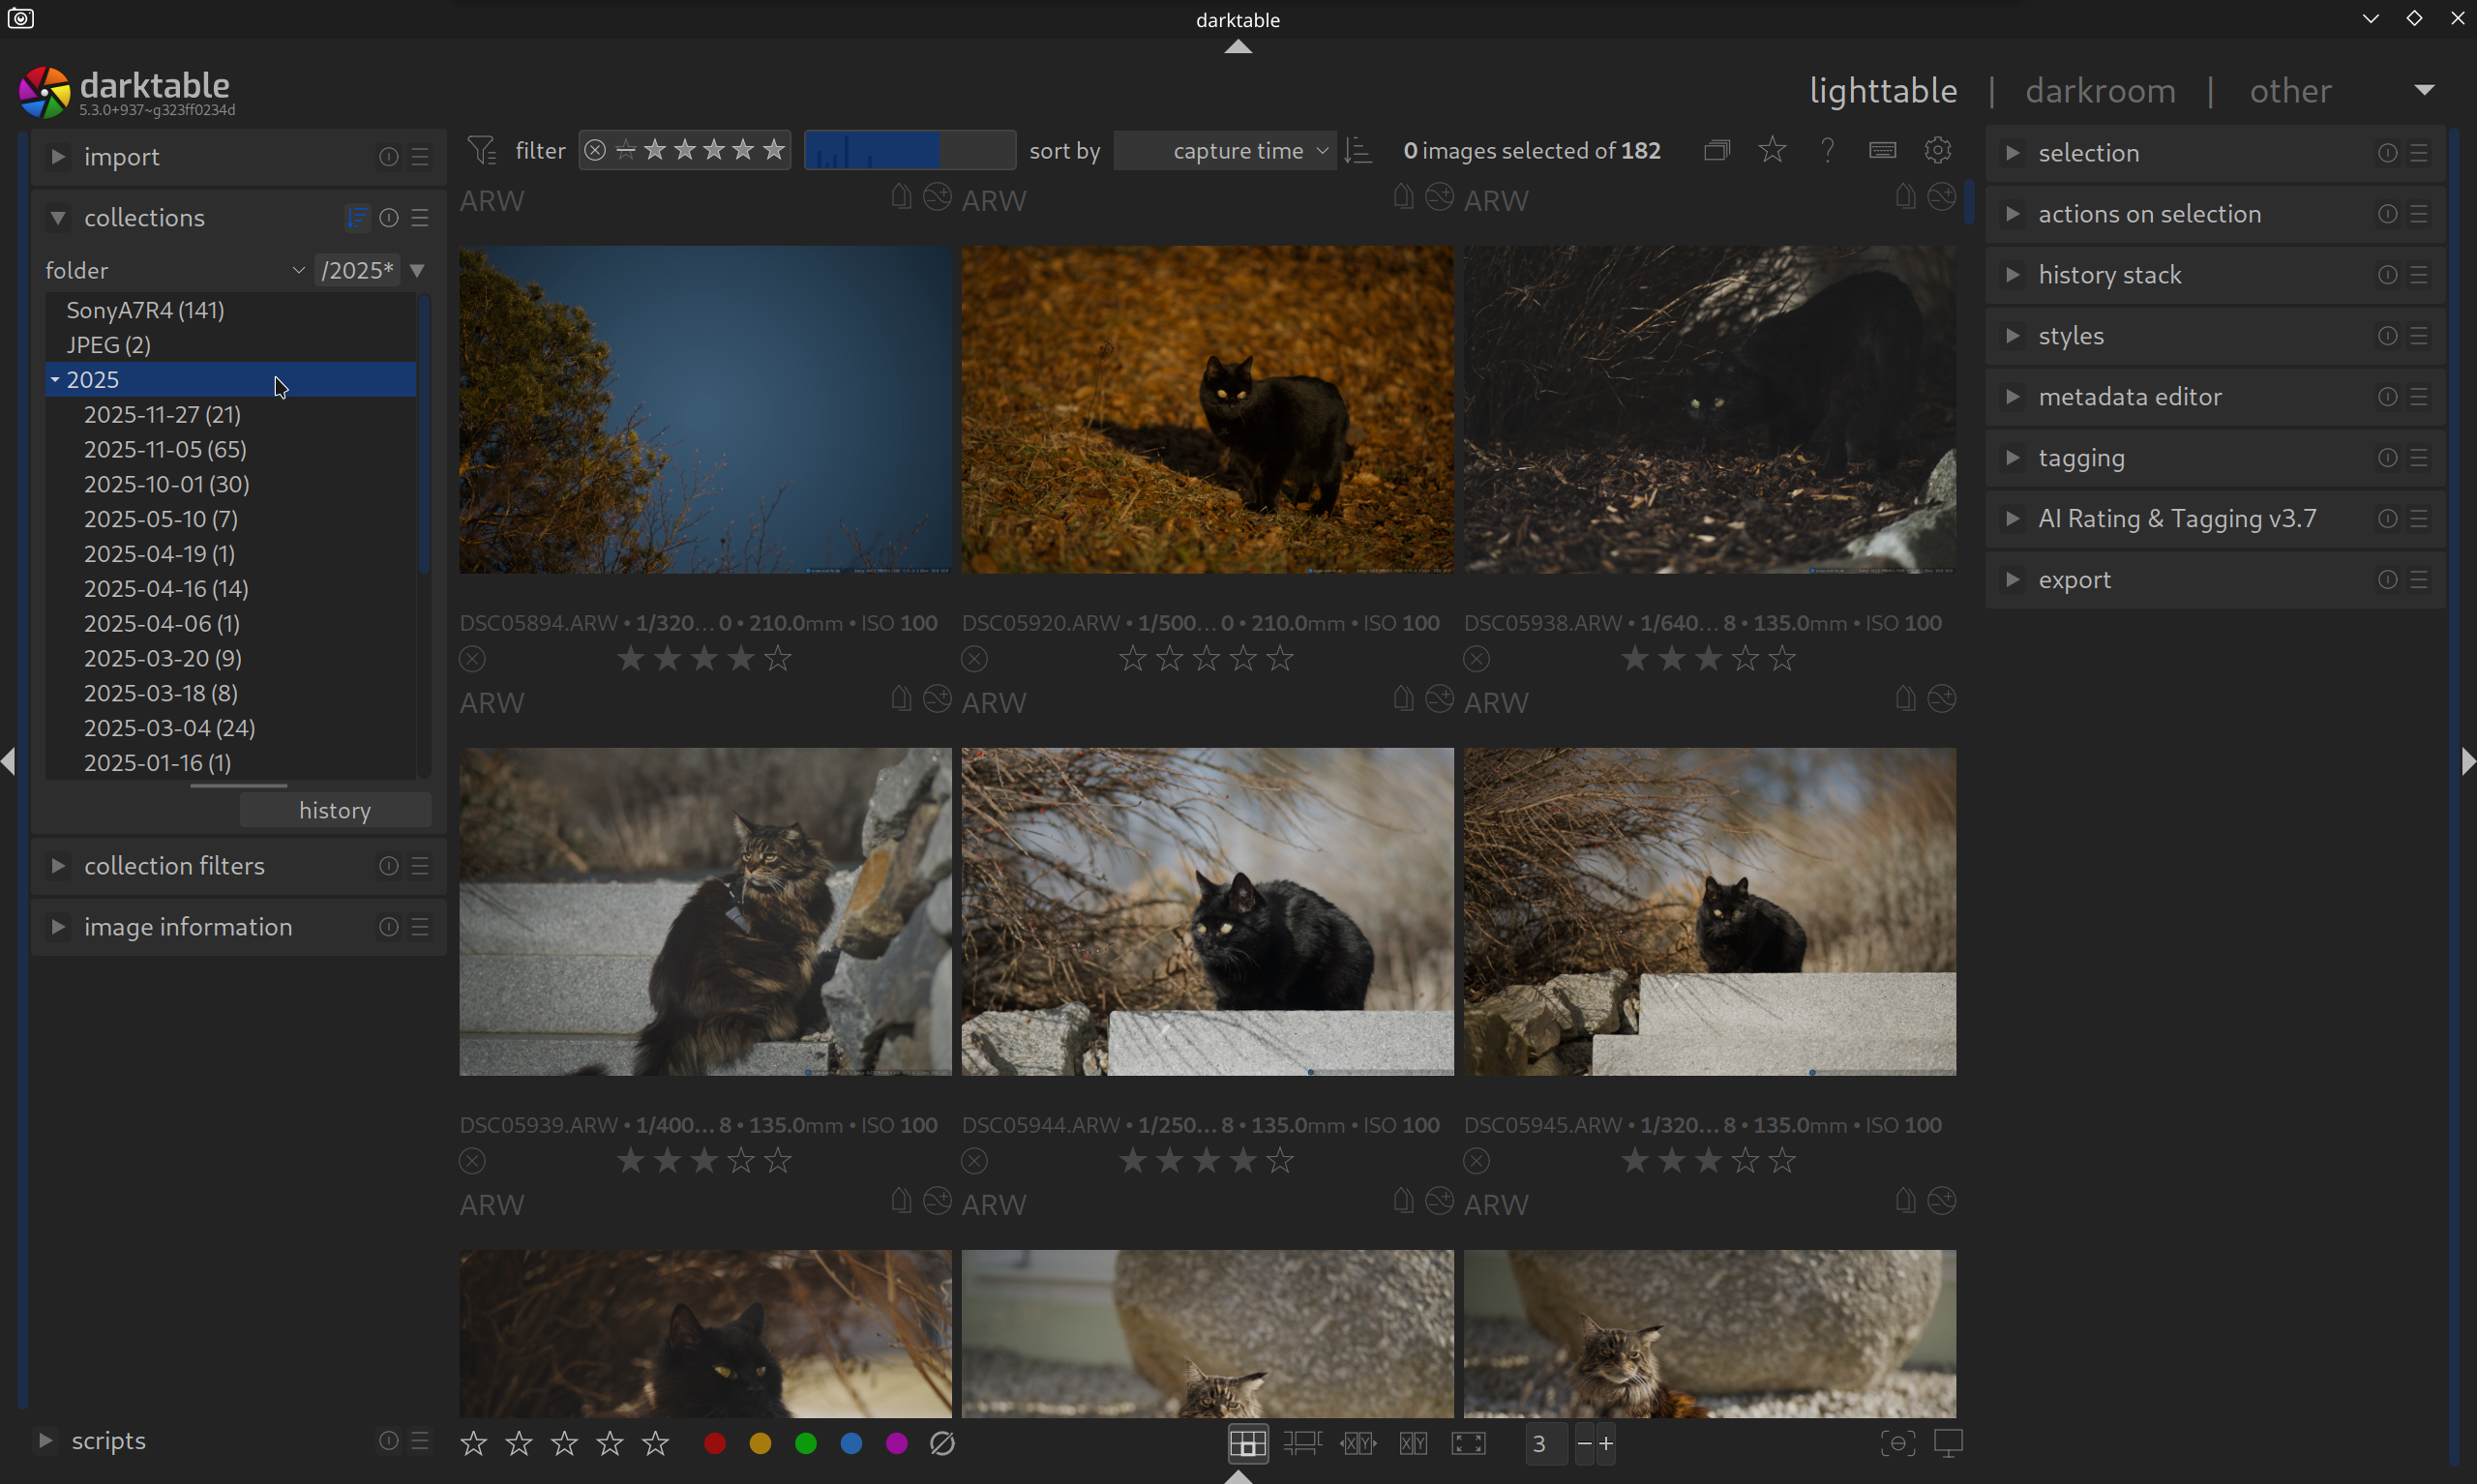
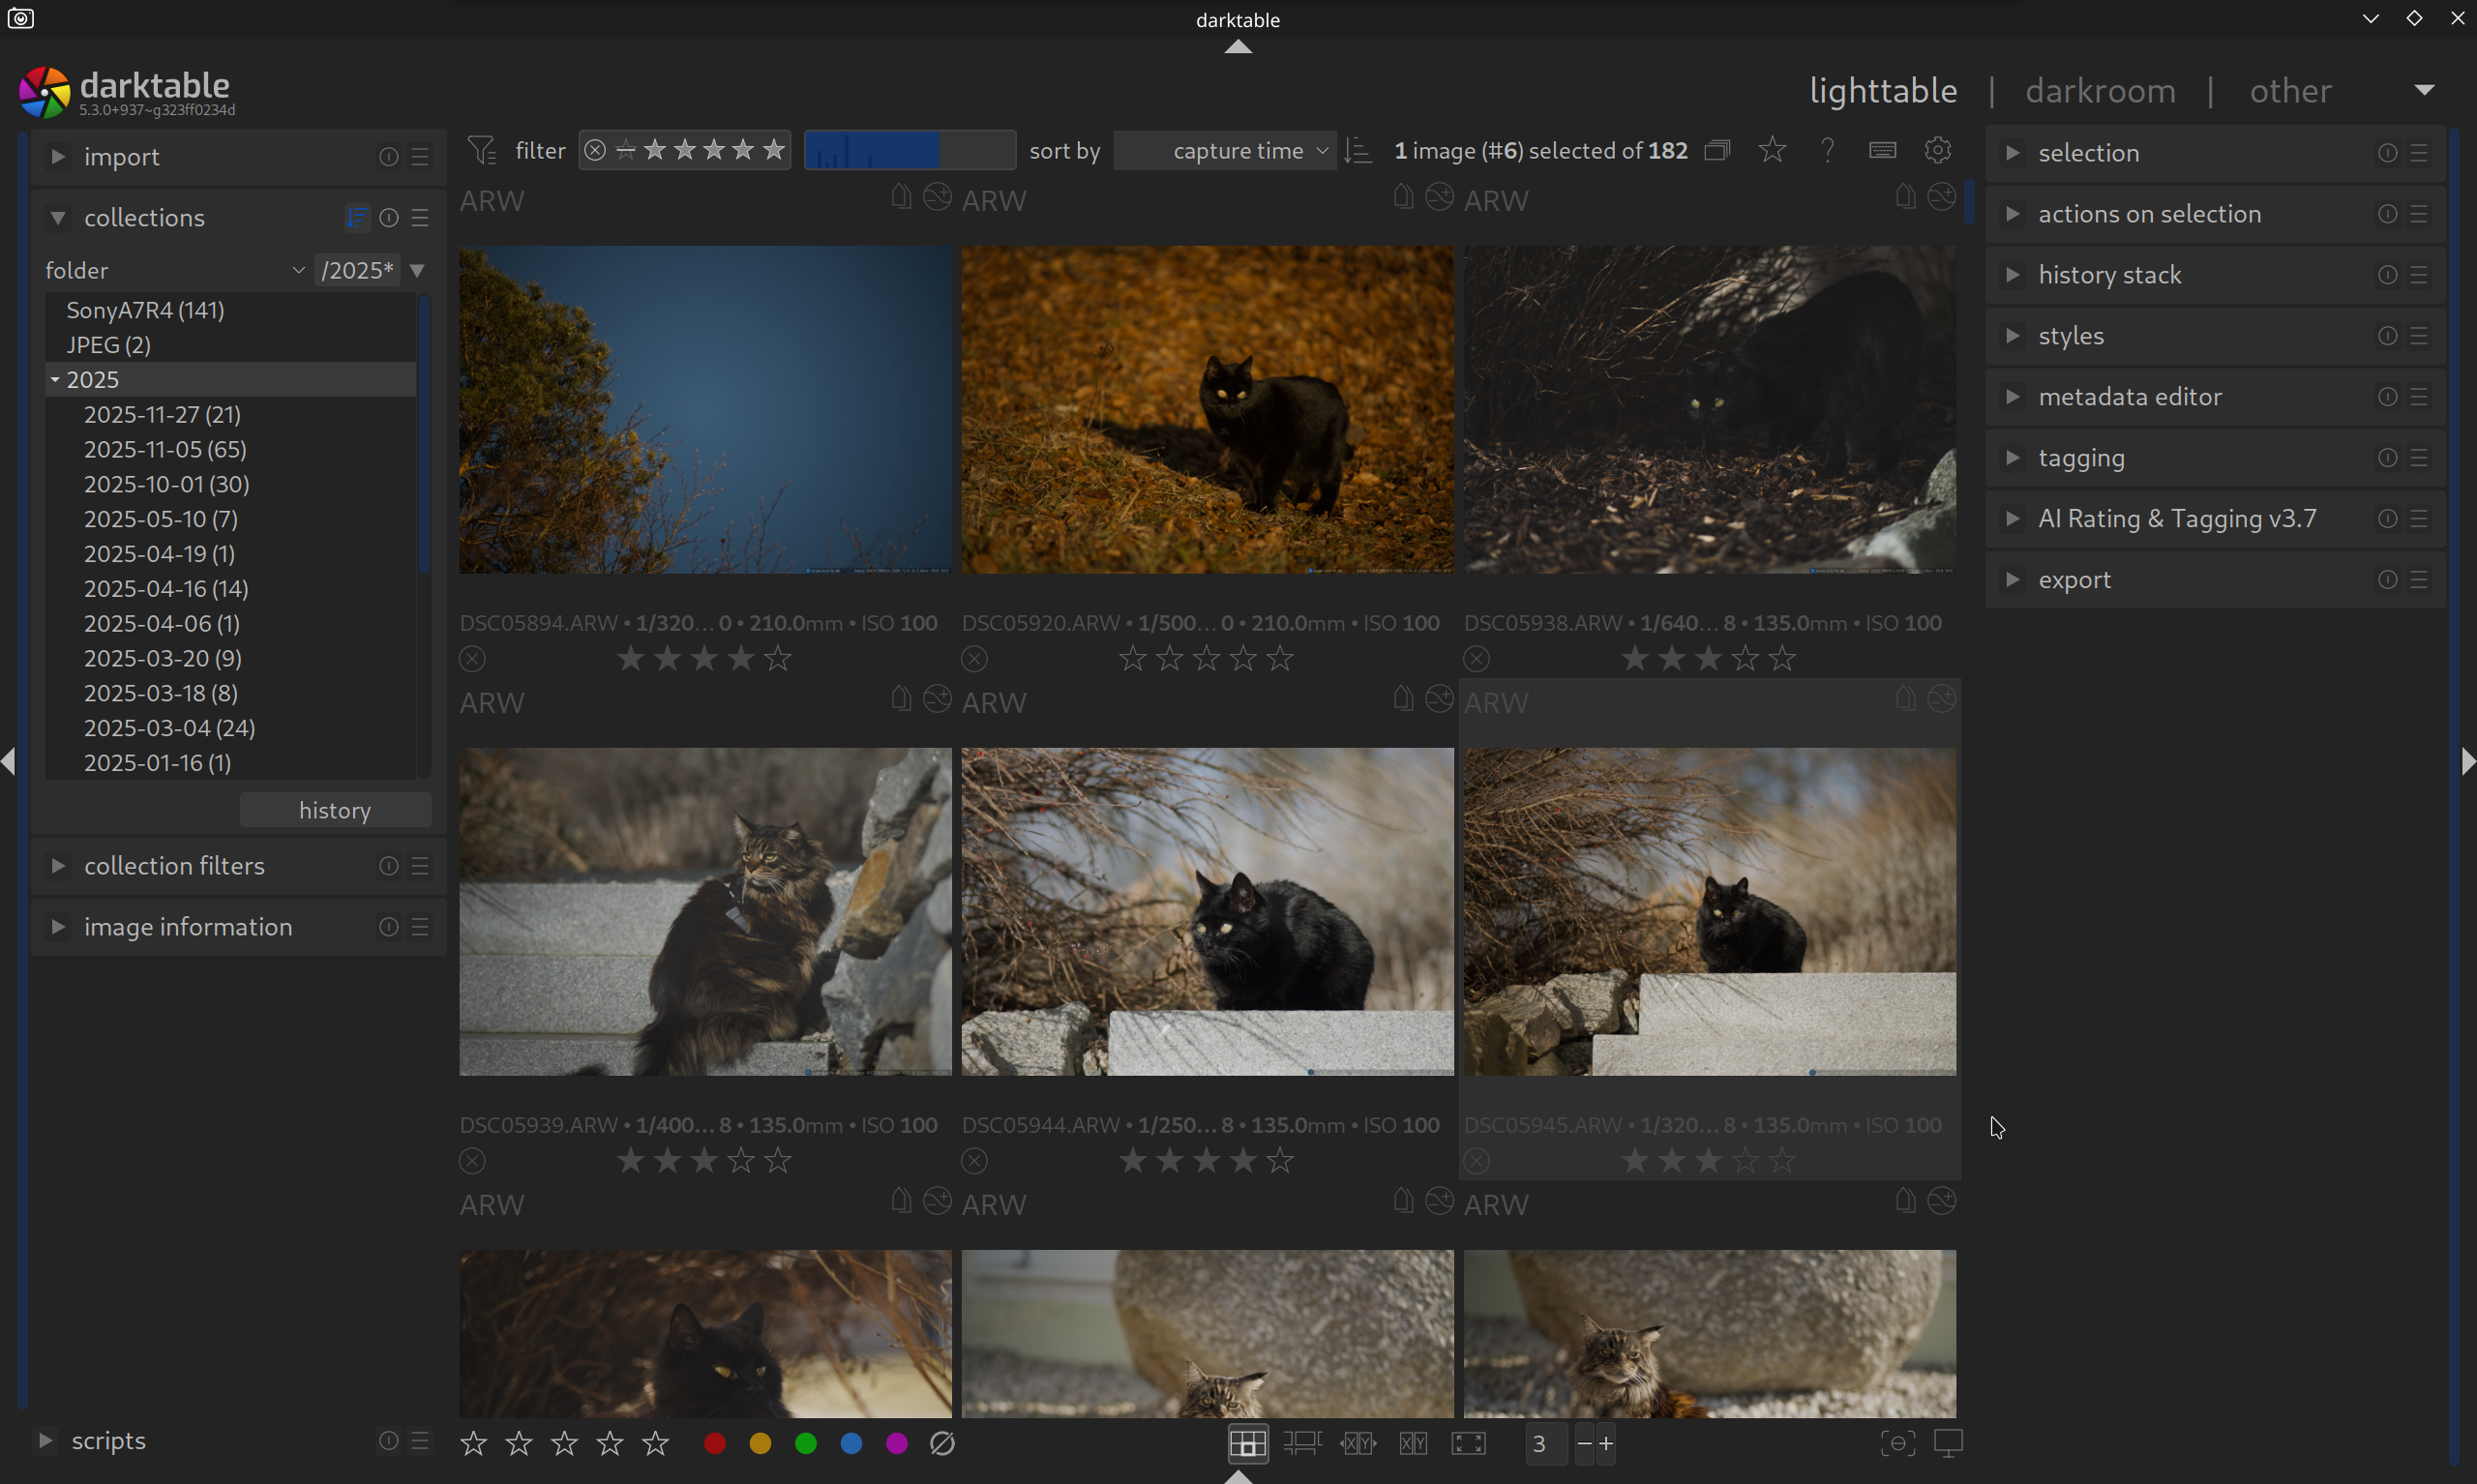
With a click of the left mouse button on a thumbnail, you select a photo.
The Darkroom
There are various ways to open the Darkroom:
- Click on Darkroom at the top right
- Double click on a photo
- Shortcut
The Darkroom looks as follows.
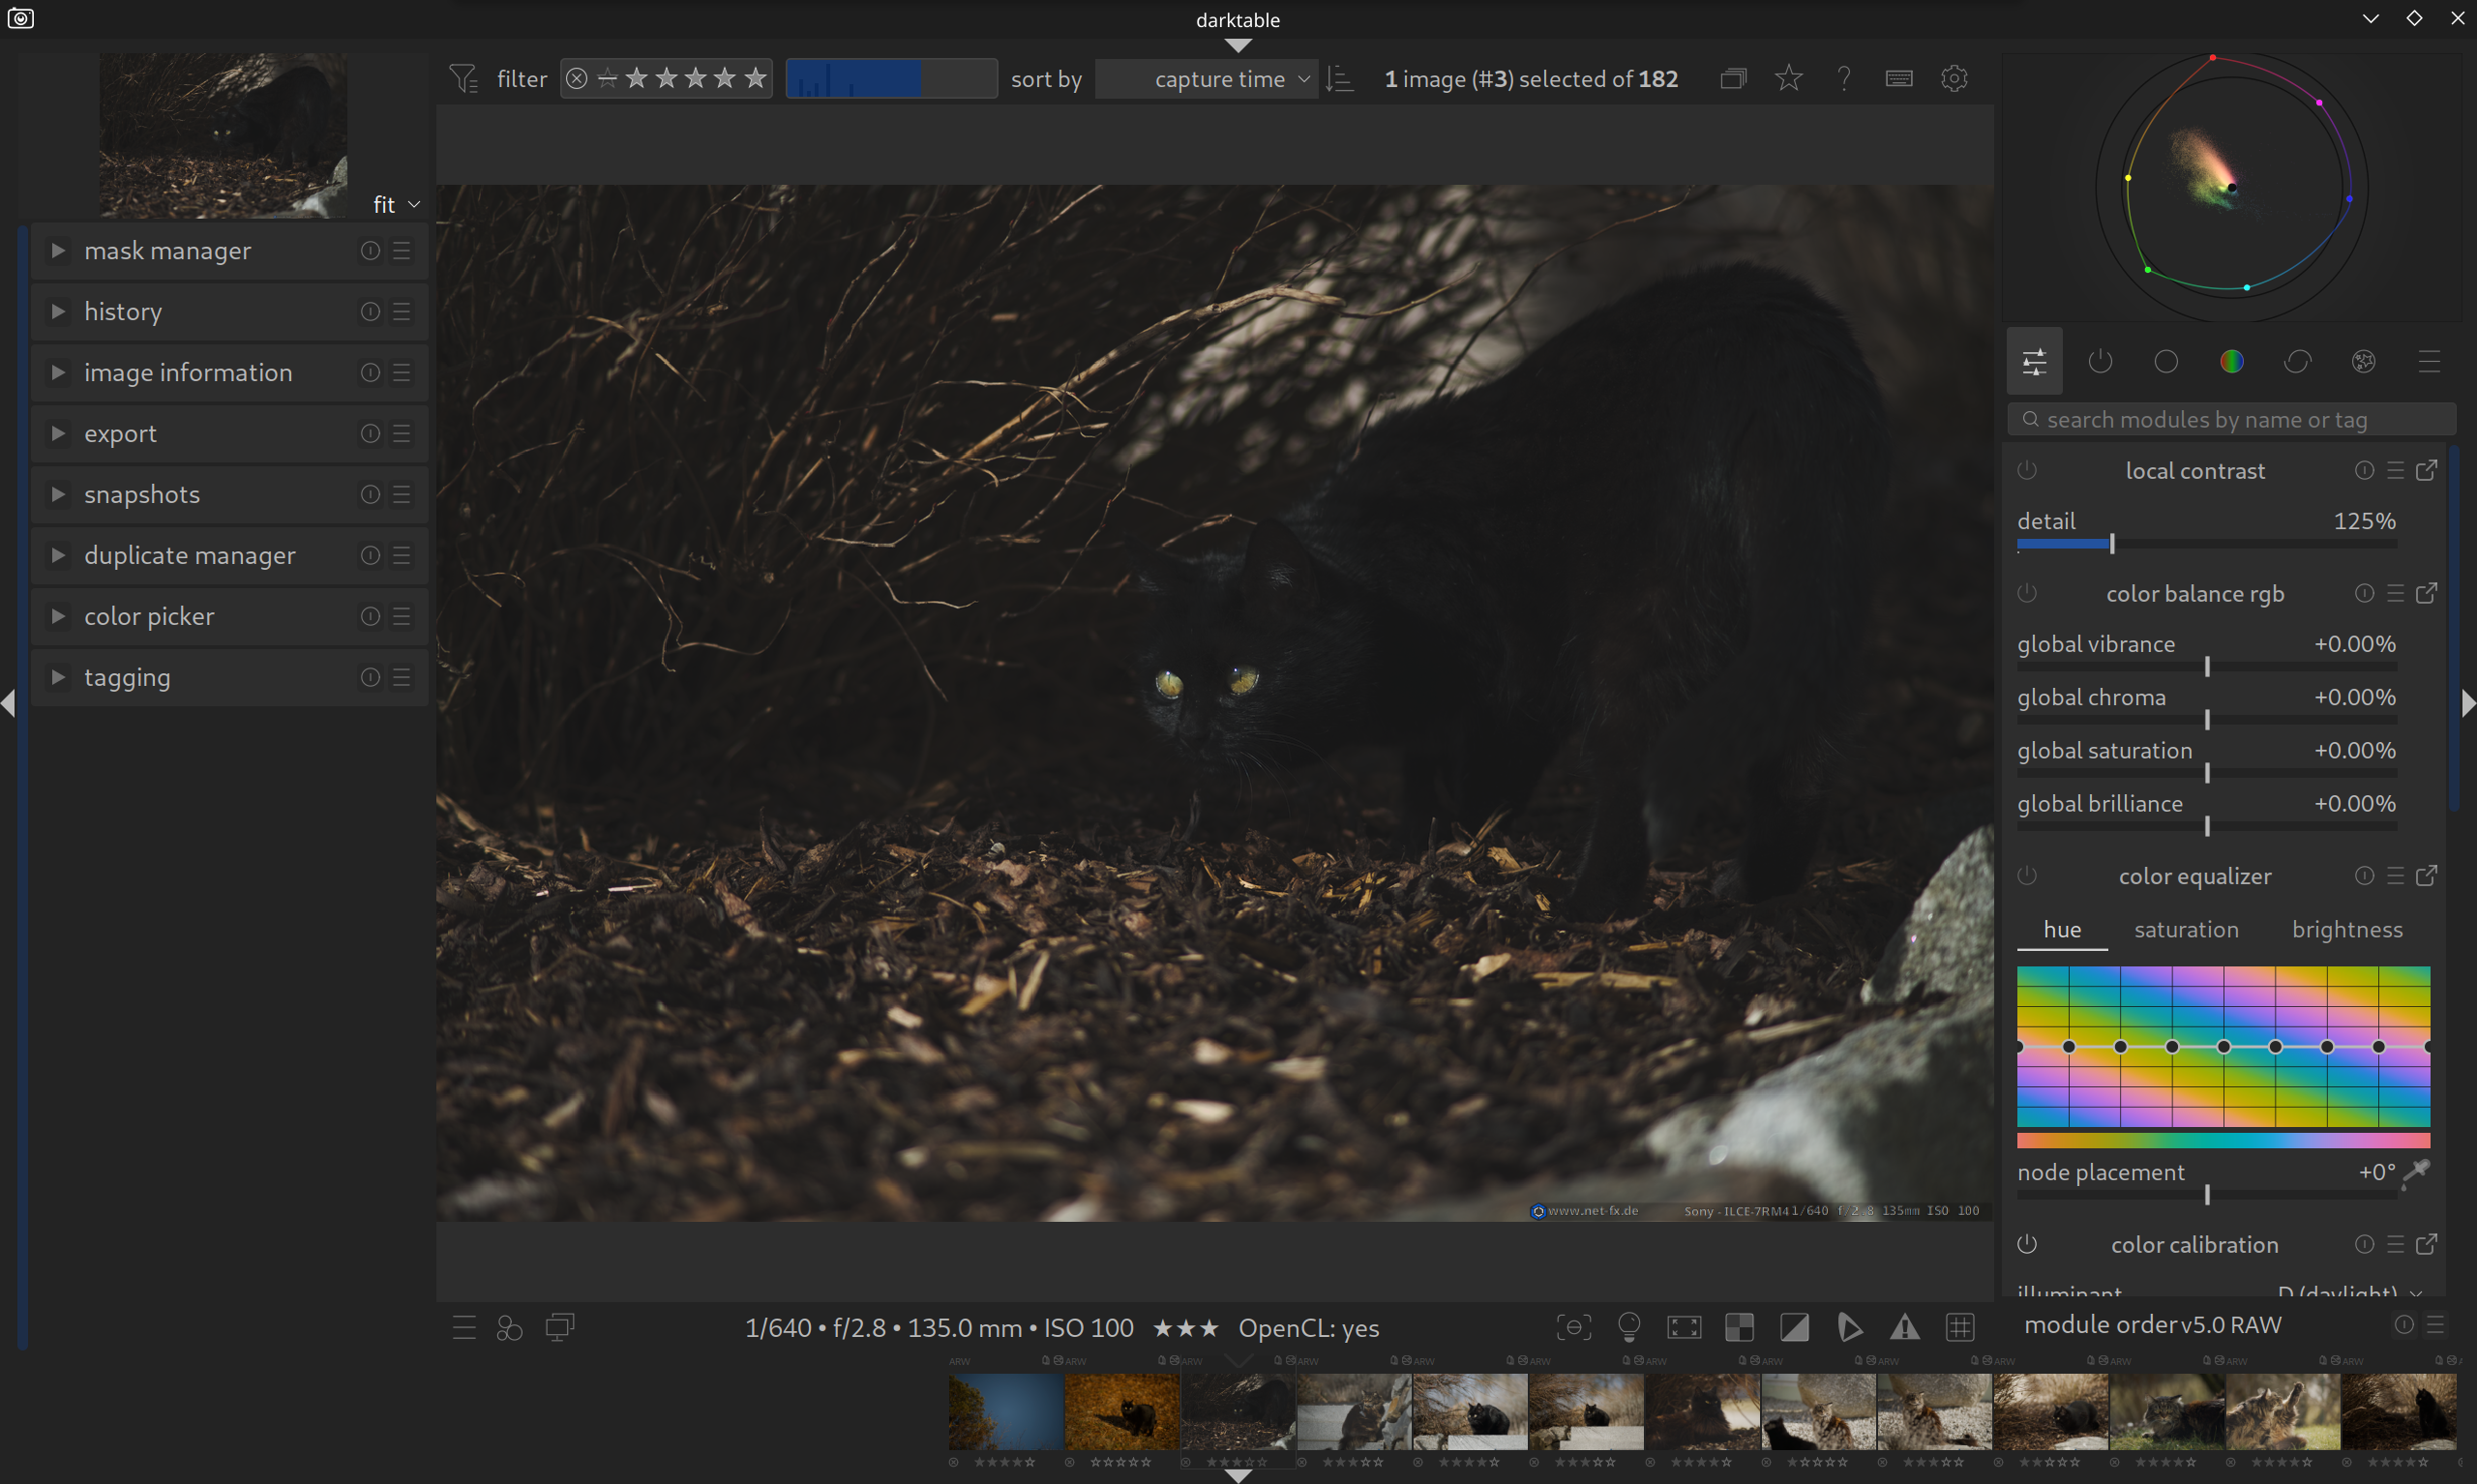
For now, ignore the left side and hide it with the small arrow symbol on the left edge. While we’re at it, let’s create more “space” and try out the arrows at the top and bottom edges.
Now the Darkroom should look similar to this; this simplified view is all that is necessary for editing a photo for the moment.
At the top right, under the histogram, is the menu for the module filters.
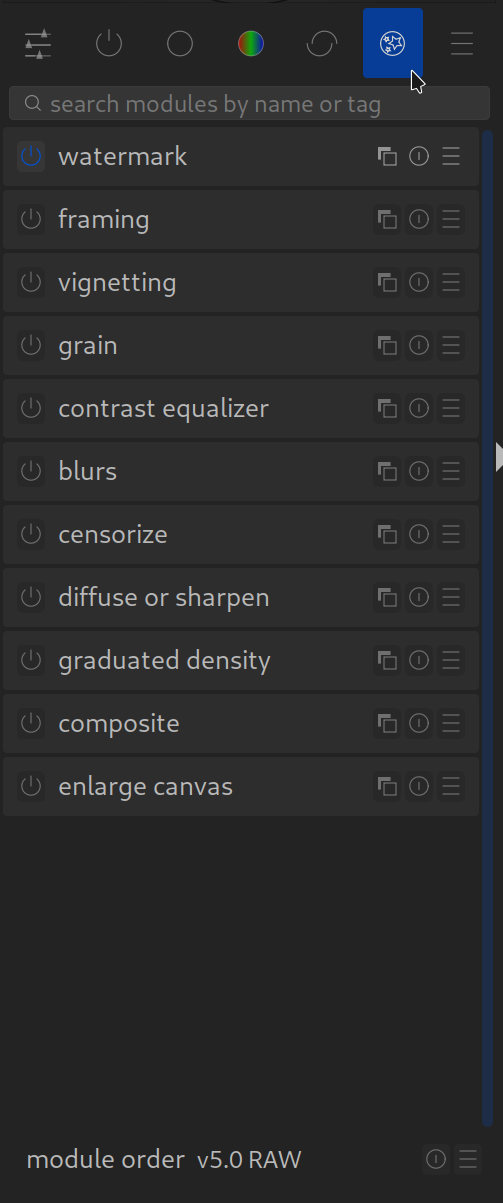
As already mentioned, DT offers a (very) large selection of different modules; many modules are for special use cases. With the use of module groups, the modules are sorted/filtered by their function.
Quick access group
Active modules
Base processing
Color
Corrections
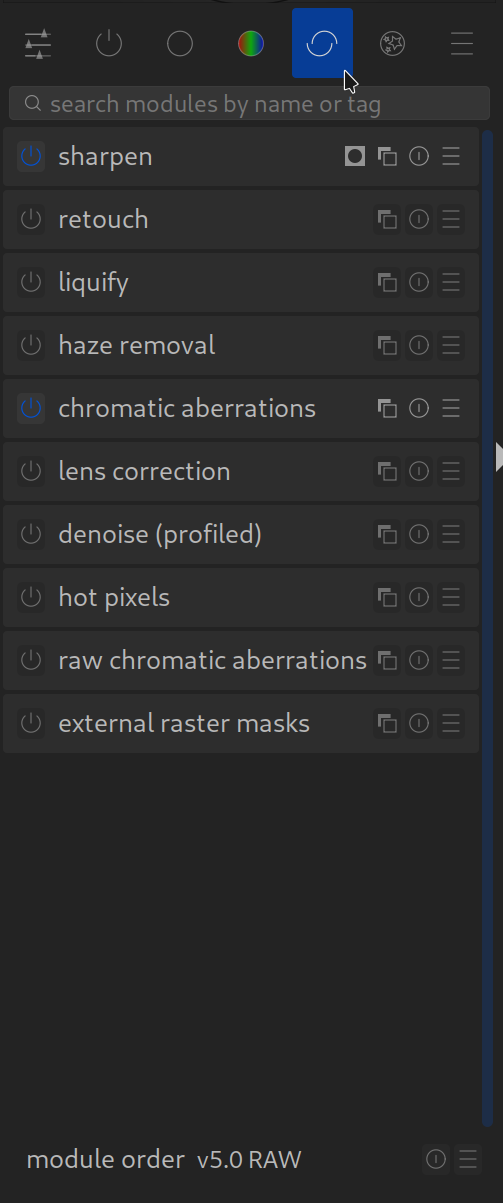
Effects
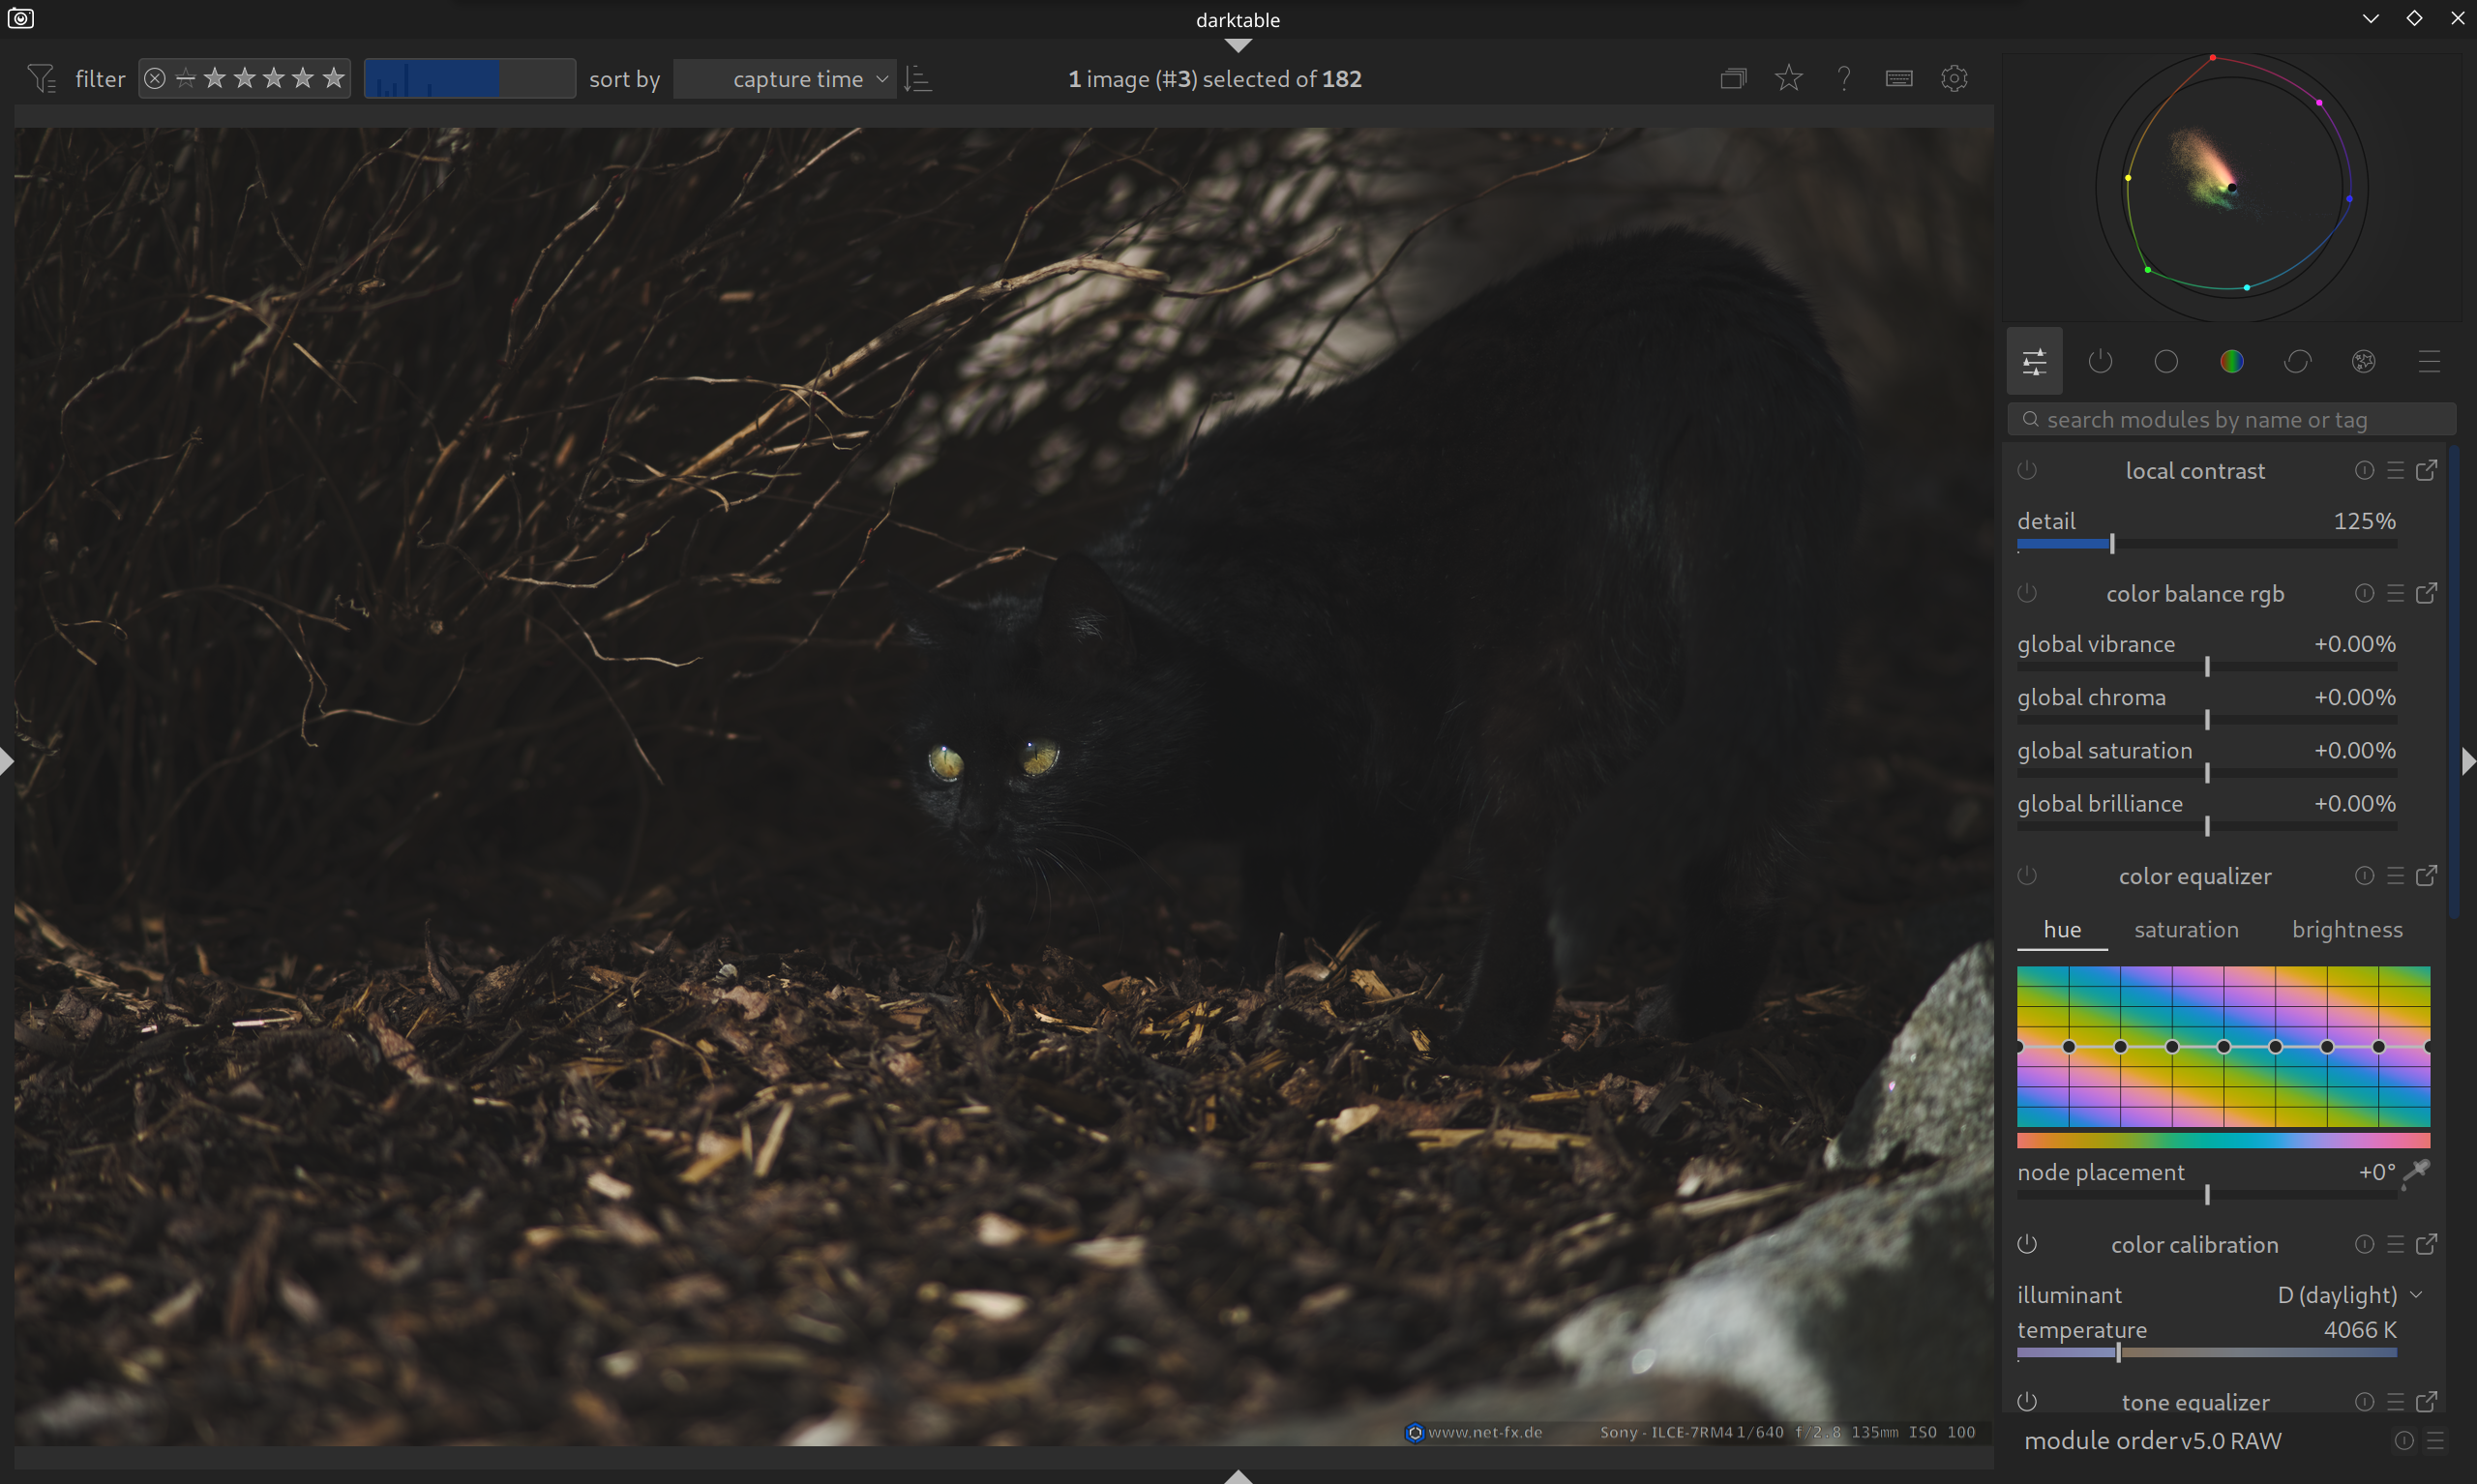
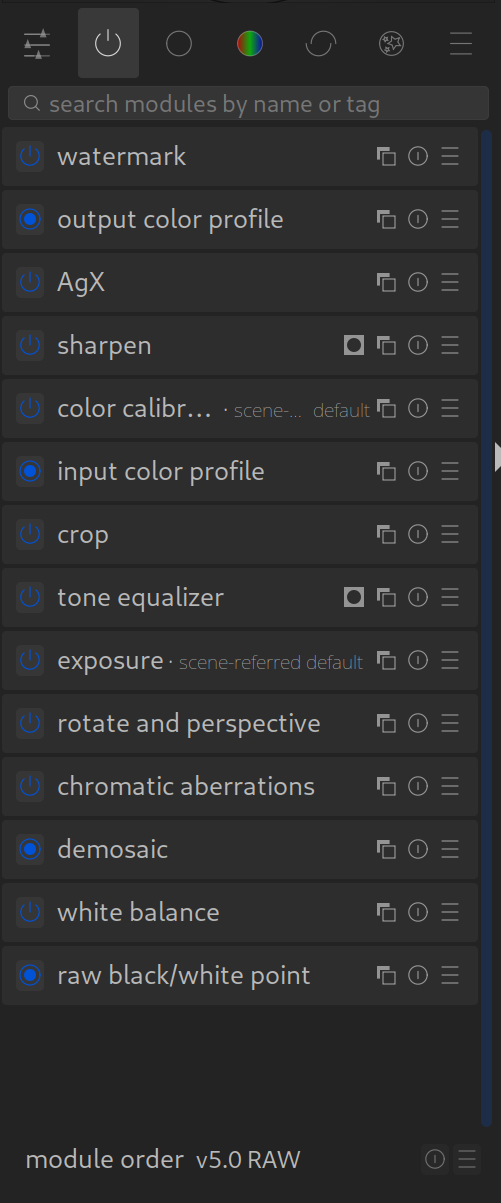
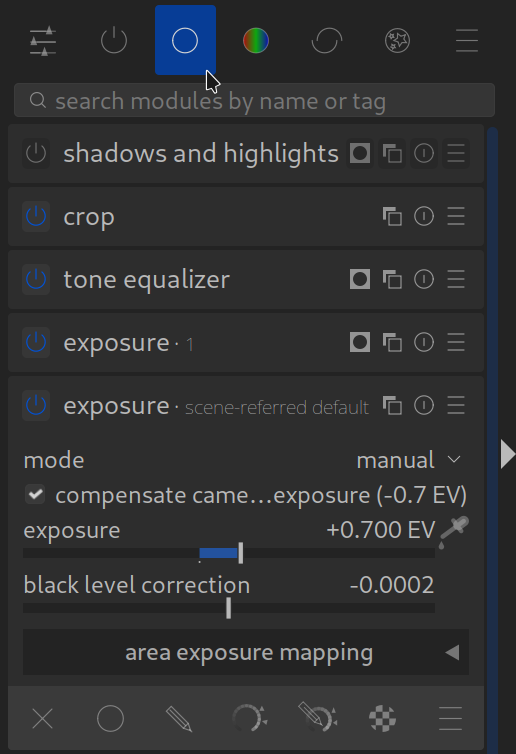
For now, let’s look at the “active modules“. The following are ALL important points to reduce the likelihood of problems while editing later.
You probably noticed that my example image already contains some active modules; this is not accidental.
In this theme, a blue symbol means it’s an active module.
There are “optional” modules. Optional means it is not mandatory for viewing a photo on the screen.

Furthermore, there are non-optional modules that are mandatory for viewing. These have a circle with a border.

In the following image you see two special features:
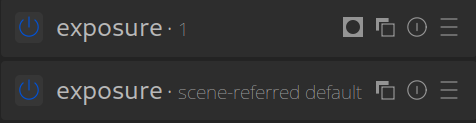
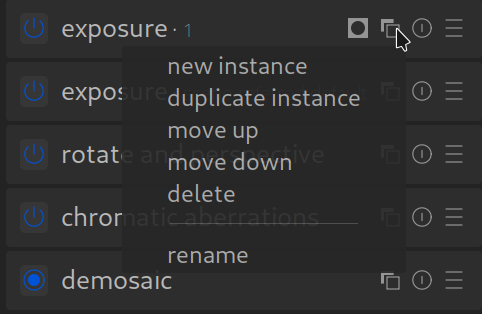
First, the “Exposure” module exists twice. Darktable has the option to provide multiple instances of a module.

This symbol opens the menu for managing the modules.

Second, there is the symbol for masks (square with circle); it indicates that a mask was applied to the Exposure 1 module.
I deliberately do NOT go into the pixelpipe and such at this point; the goal is a basic understanding of the most important steps for editing a photo. (In-depth information from the manual is found here: the pixelpipe & module order.)

Masks in DT
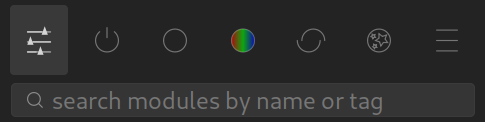
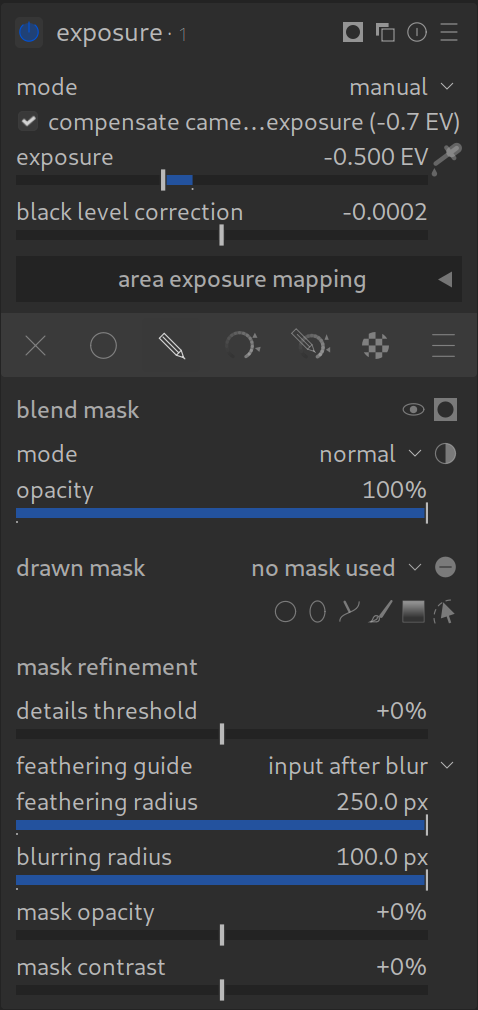
We open the third “module group” Base processing and activate the submenu with a left-click on Exposure.

The important part for this step is the mask menu. Open the submenu for drawn masks (symbol with pencil) with a left-click.


On the image to the right, you see the complete current menu for Exposure -> drawn masks.
To add a drawn mask, there are the following options.
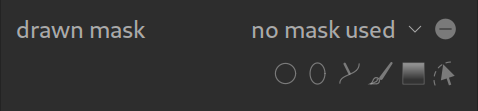
The dropdown menu shows “no mask used” because we haven’t drawn a mask yet. Later, drawn shapes/masks can be reused with this.

To the right of the dropdown menu is the “–” symbol, which changes to a “+” with a click. This inverts the drawn mask, or not.
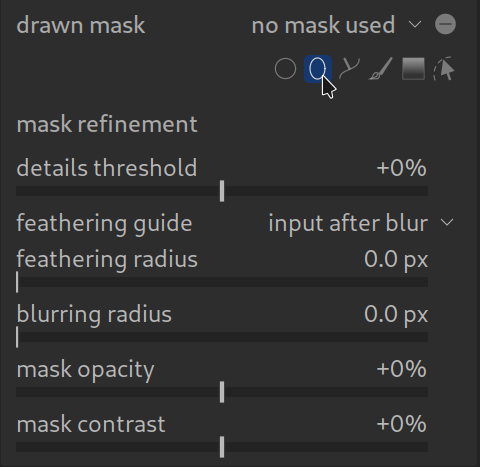
The following menu shows the options for drawn masks.

- Circle
- Ellipse
- Path
- Brush
- Gradient
The rightmost symbol (path with mouse cursor) is for displaying already drawn masks.
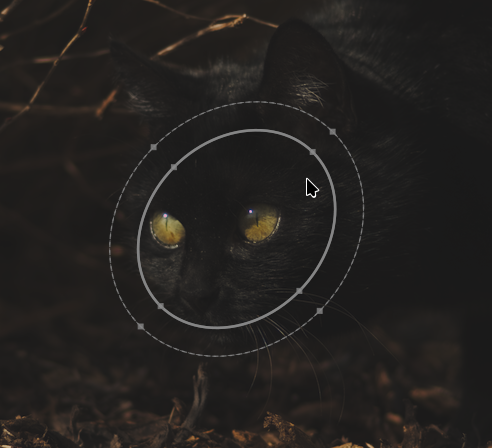
The First Mask
Click on the symbol for Ellipse.
Now move the mouse over the desired “target” and confirm with a left-click.
The inner ellipse is the core area of the mask, the dashed ellipse is the area where the mask “feathers” out. At this point, keyboard shortcuts in DT are really useful.
- Right-click with the mouse deletes the mask
- Scrolling (with the mouse) enlarges/reduces the mask (the mouse pointer must be inside the mask)
- Ctrl + Scrolling changes the opacity of the mask
- Shift + Scrolling changes the distance between the core area and the dashed ellipse (feathering)
- Ctrl + Shift + Scrolling rotates the mask
With the “Exposure” slider, you can now change the brightness. The change is limited to your drawn mask.
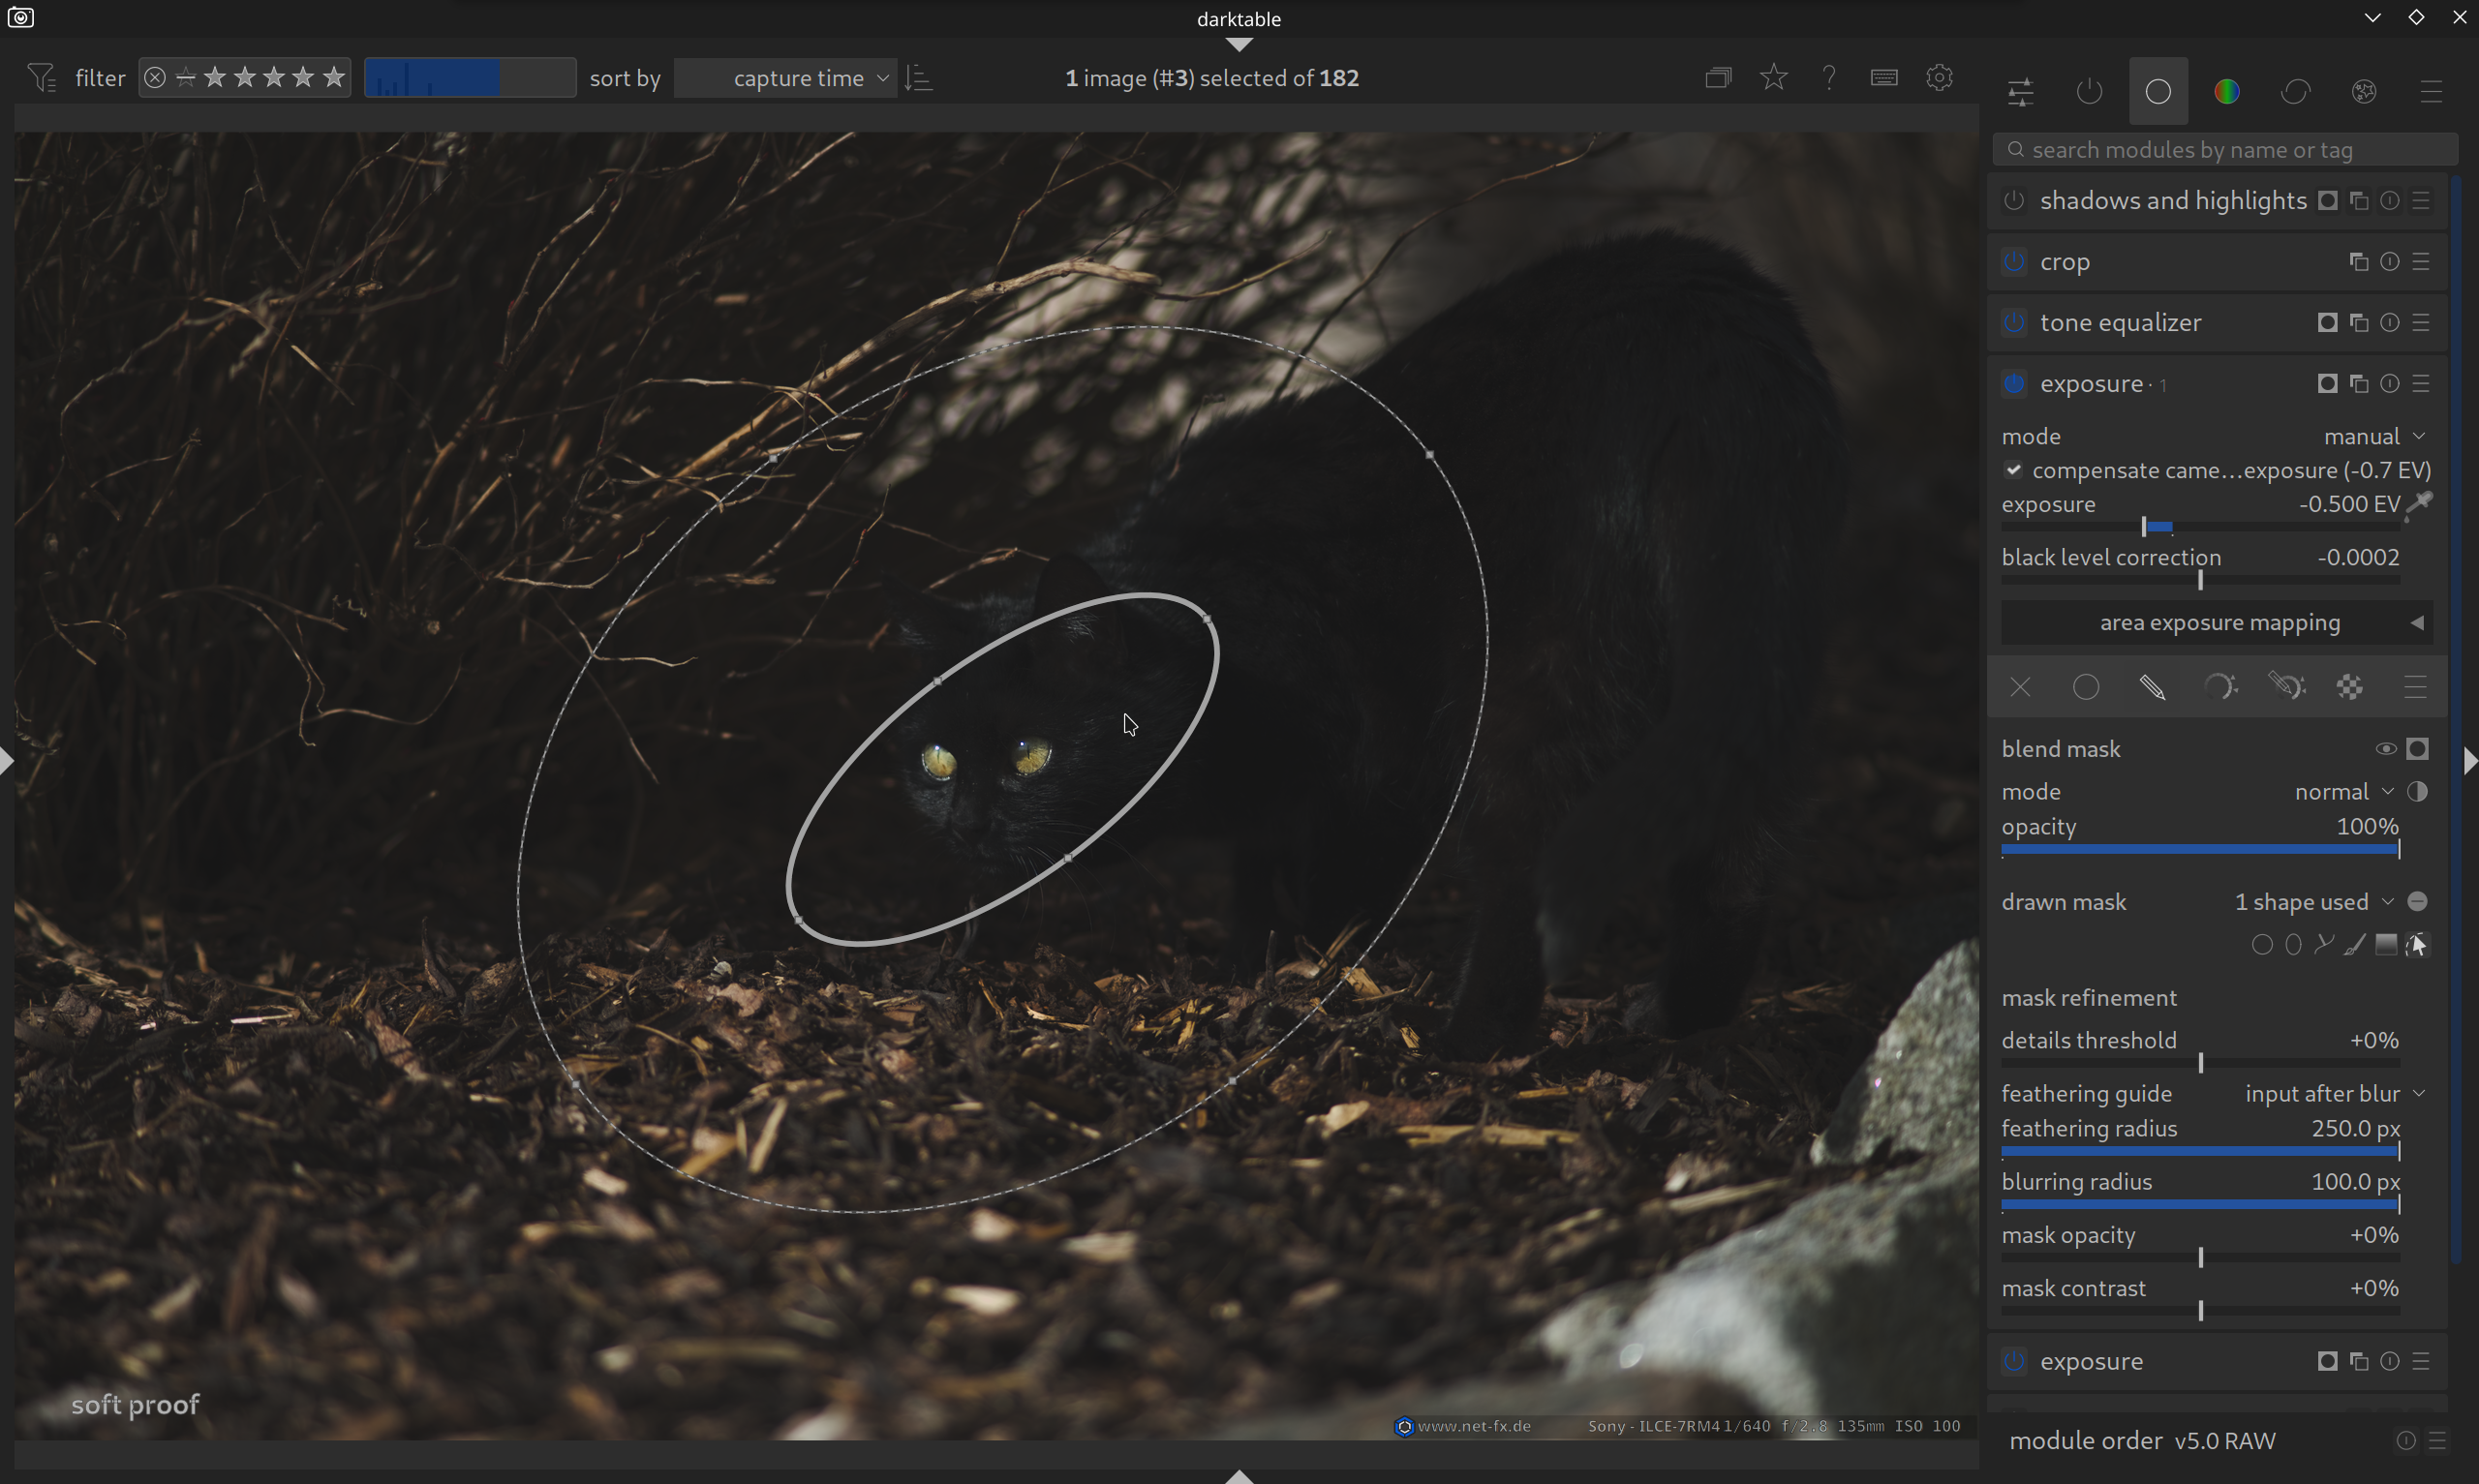
The mask can be inverted with a click on “-” or “+”.
If the transition between the mask and the rest of the photo is too “hard”, use the slider for “mask feathering“.

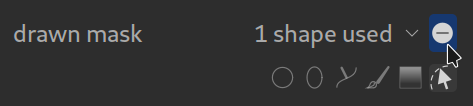
If you want to delete an instance of a module, you will find the option as shown in the image on the right.
We haven’t discussed two symbols yet. One is the circle with the line in the middle; with this, you reset all settings for the module.
The three lines (hamburger symbol) show you further options for the module.
With this, the foundation is laid!
You now have all the basics covered and are technically ready to explore the modules and settings.
However, to avoid getting lost in the sheer number of possibilities, we strongly recommend the following way. If you haven’t already, check the Initial Setup.
What’s next?
🚀 The Recommended Path
Get to know our Standard Workflow. We show you how to develop 90% of your images using just 5 modules.
🔍 For Explorers
Want to know exactly what each tool does? Browse our Module Overview.
February 5, 2026
This is great. Thanks for the great work!
But I am doing digital photography on and off for 15 years and used lightroom quite a bit. Mask is a wonderful tool, but I feel that it might be too advanced for “getting started” for the very beginer.
I feel that “standard workflow” might be promoted for earlier stage. Let us imaging somebody just shoots a raw picture and needs to get it processed. Anything in the basic workflow might belong to “getting started”. Just my thought. Hope it is helpful!
Thanks for the great work!
For quick start, I would make this much, much smaller – and that is hard.
– leave out *all* extras, even about recursive directories.
– go for a super-straight step 1 import: click here, step 2 exposure: click here and here, step 3 crop: click here and here. Congrats your first photo is done.