January 27, 2026
Purpose
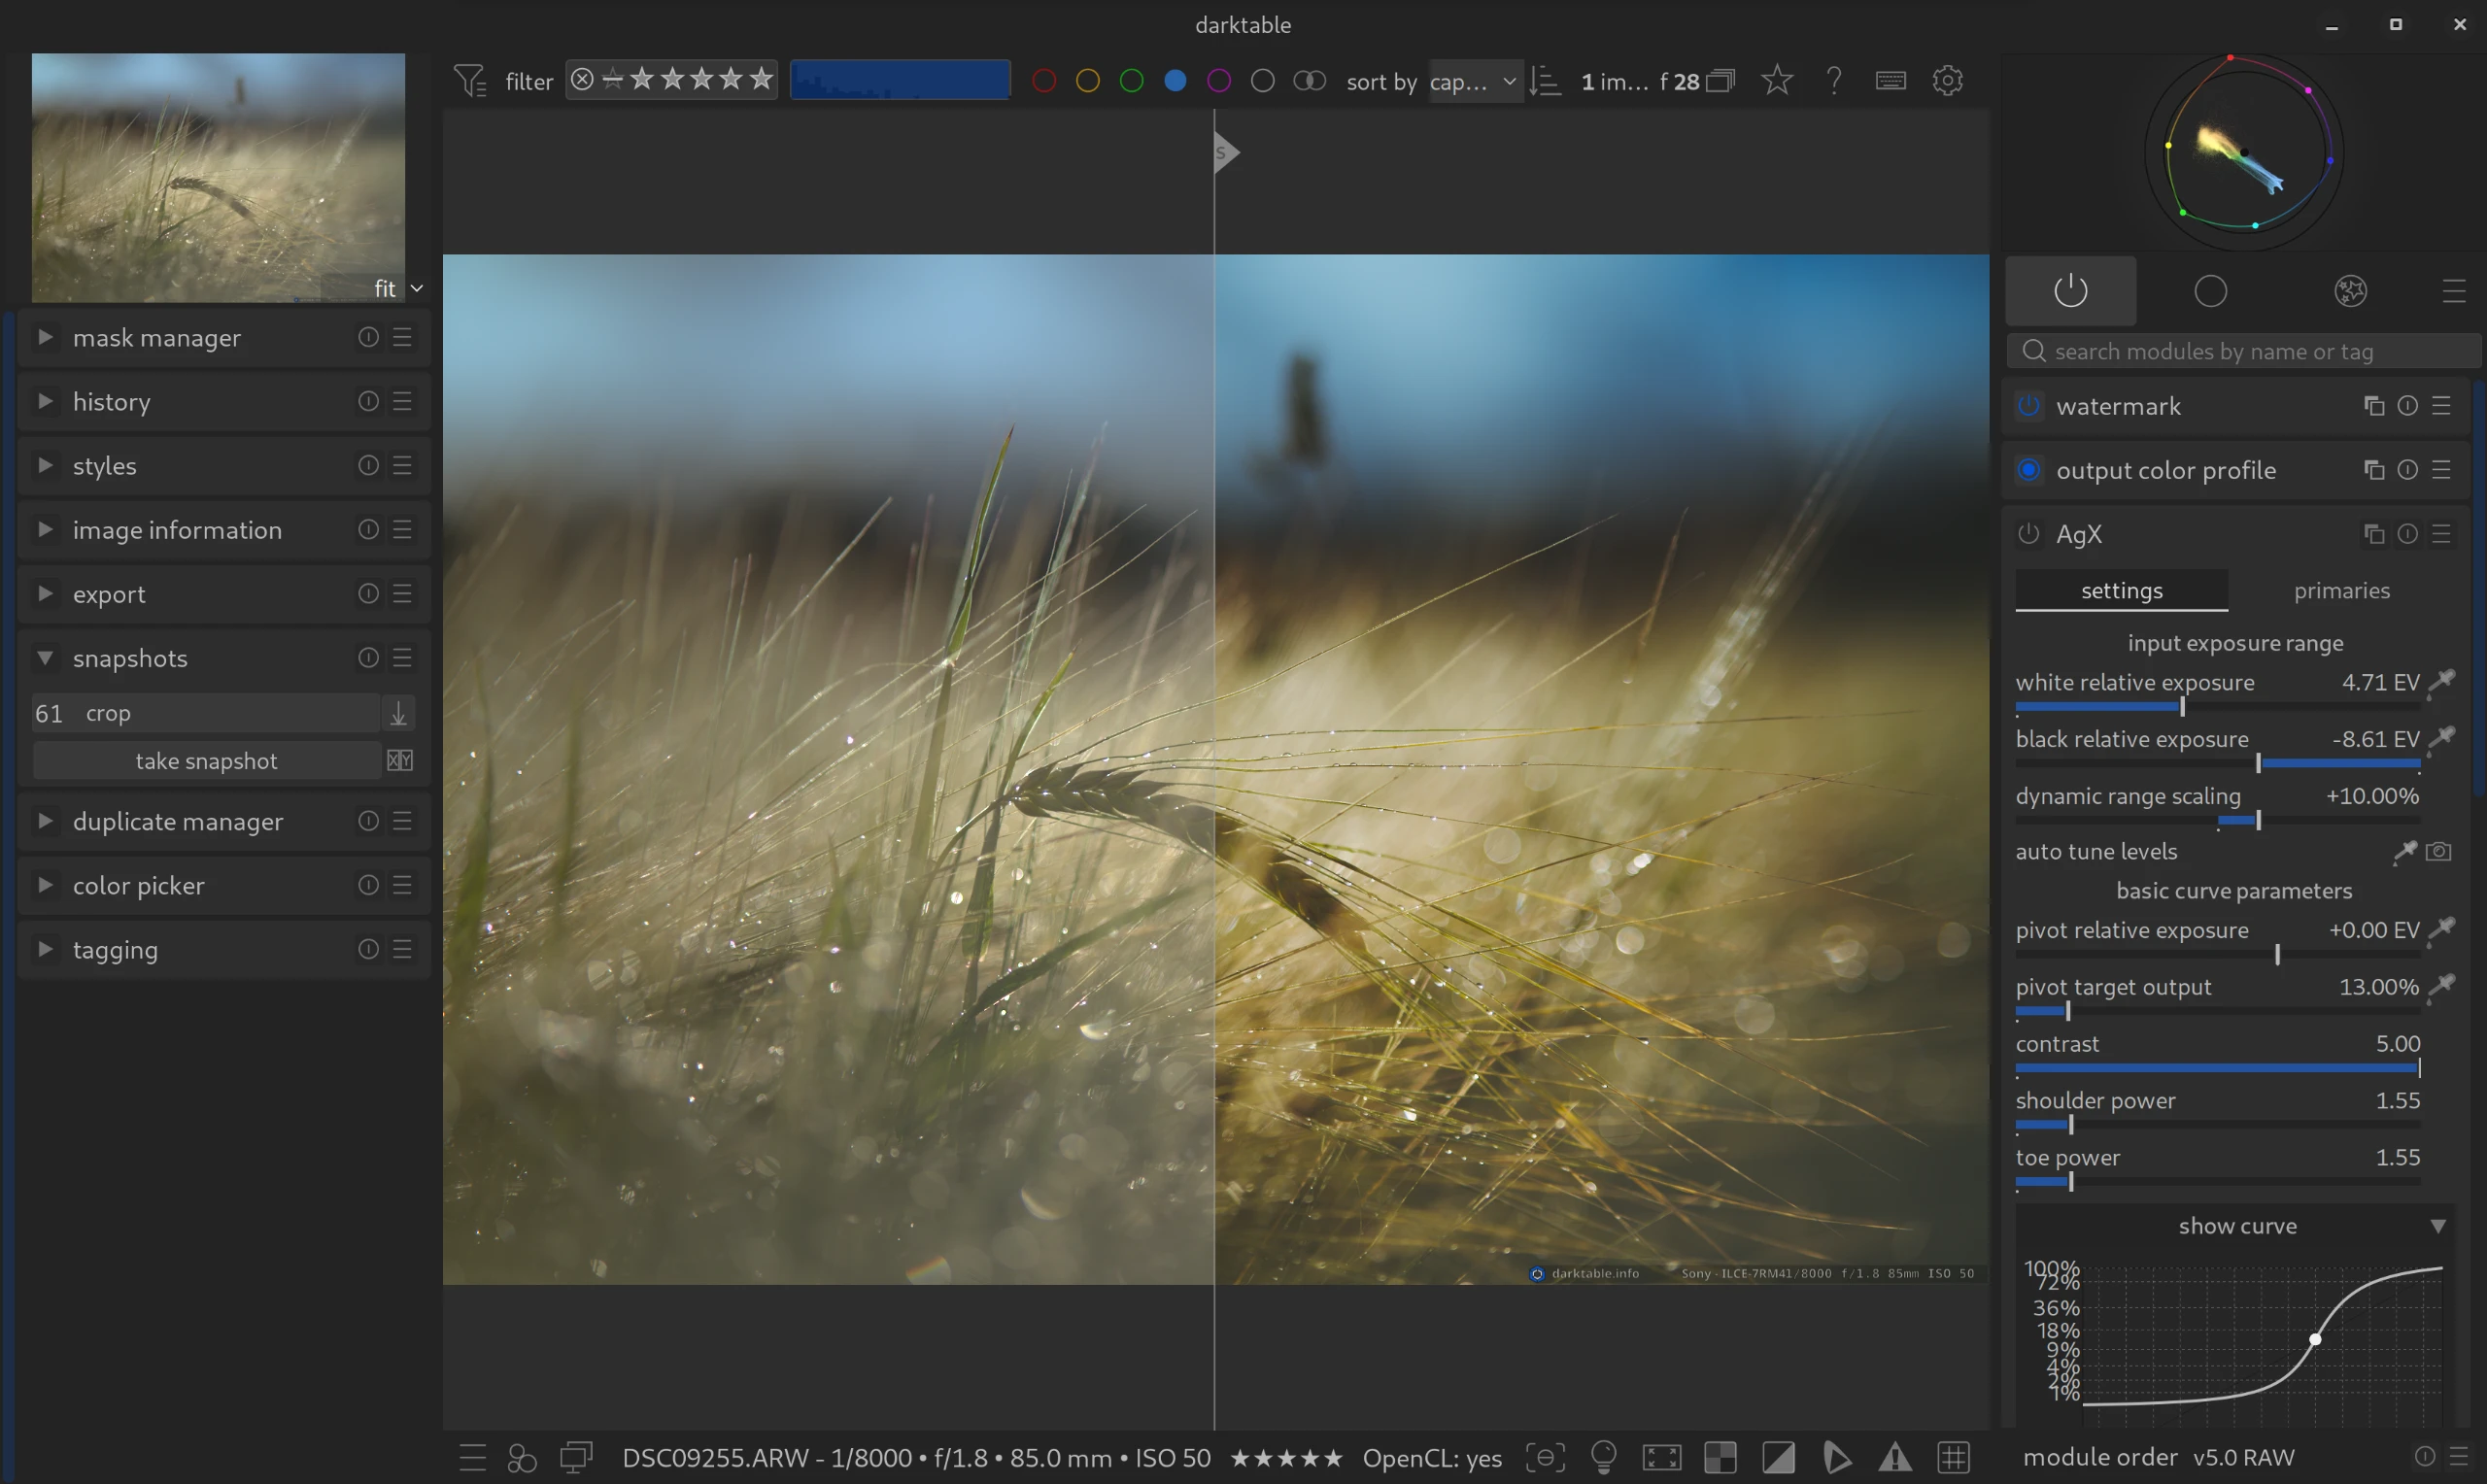
The module is used to save the current processing status and compare it with other stages or images. This is particularly helpful for directly assessing changes made by module settings before and after.
Operation
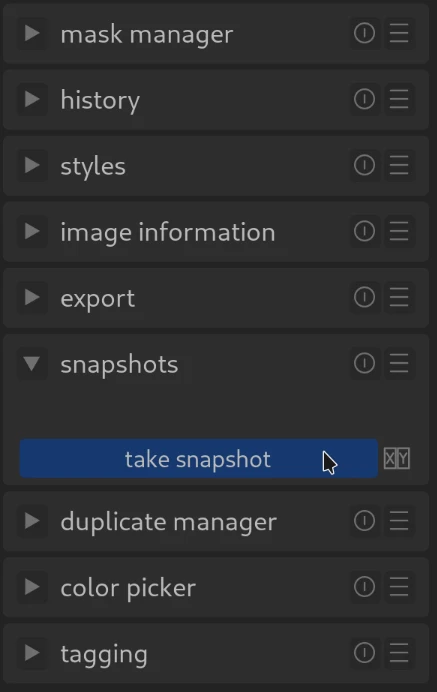
- Create: Click on the “take snapshot” button.
- Name: By default, the name of the module and its position in the History Stack are used. You can assign your own name by pressing Ctrl + clicking on the name.
- Show: Clicking on the name activates the snapshot. An arrow with an “S” indicates which page the snapshot represents.
- Deactivate: Clicking on the name again closes the view.
- Delete: The reset button on the module deletes ALL snapshots.
- Restore: The icon to the right of the name can be used to apply the snapshot history to the current image (replacing the current History Stack).
View modes
There are two ways to compare snapshots:
- Overlay view (default):
- Shows a dividing line between snapshot and current editing (split view).
- The line can be moved with the mouse.
- Clicking on the rotation icon in the middle of the line switches between vertical and horizontal division.
- Side-by-side view:
- Can be activated via the icon next to the “create snapshot” button.
- Displays two separate image areas side by side.
- Clicking in the area rotates the arrangement (left, right, up, down).
Navigation & Special Features
- Zoom/Move: Also works in snapshot view.
- Session duration: Snapshots are only retained for the duration of the darktable session.
- Image comparison: You can switch to another image and display a snapshot of a previous image there (an arrow in the name indicates that the snapshot comes from another image).
For more information, view darktable’s official manual page: “snapshots”.
Questions about this topic? Discuss it with us in the forum!