December 6, 2025
What is it about?
Chromatic aberrations (CA) are color errors caused by the lens. They often appear as ugly purple or green color fringes on high-contrast edges (e.g., branches against a bright sky). This module intervenes extremely early in image processing – even before the RAW image is converted into a visible image (demosaicing).
Why “Raw”?
There are two modules in Darktable for this purpose. This one (“Raw CA”) works on the raw sensor data. This is often more effective and cleaner than later corrections. It is purely technical and has no creative sliders.
How to apply it:
This module is a classic “Set and Forget” tool.
- Simply activate the module.
- In 99% of cases, the default settings are completely sufficient.
- If color fringes are still visible, you can additionally use the “Chromatic Aberrations” module (without “Raw”) or the “Lens Correction” module later in the workflow.
When to use?
Ideally, activate it by default for every RAW image. It costs almost no computing power and immediately improves the technical image quality.
Pro Tip: Automatically apply to all images
Since this module technically improves image quality without changing the artistic look, it makes sense to have it always activated. You can configure Darktable so that this module is automatically turned on for every new image import. This saves you thousands of clicks!
How to create this “Auto-Preset”:
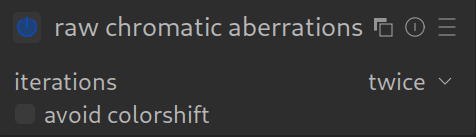
- Activate the module Raw chromatic aberrations on any image.
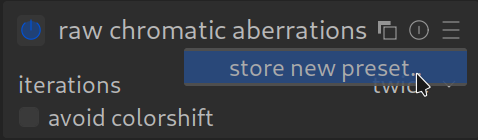
- Click on the hamburger menu (≡) in the header of the module.
- Select Store new preset….
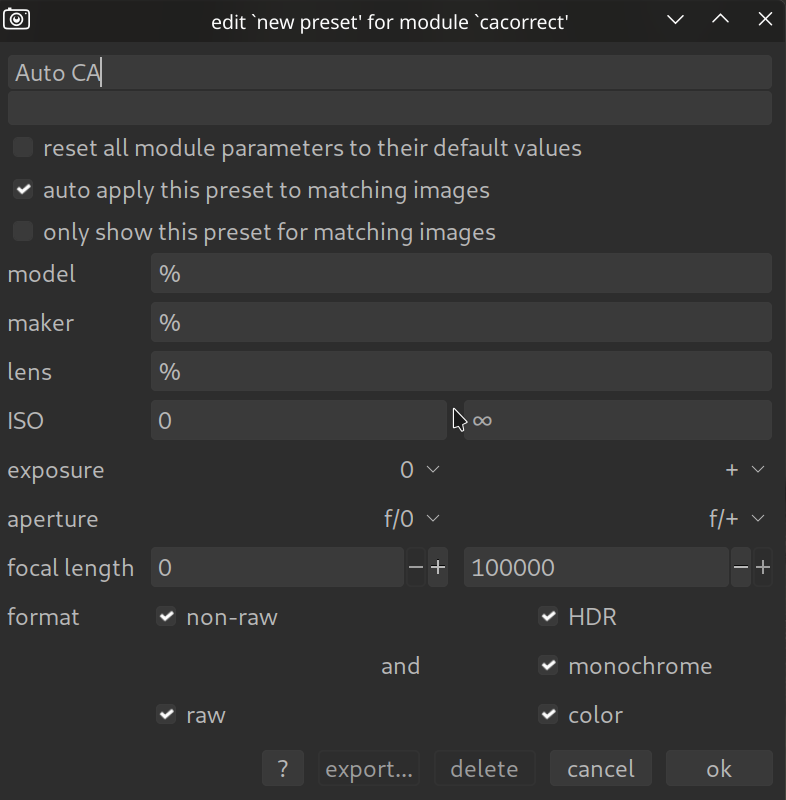
- Give the preset a name, e.g., “Auto CA”.
- Important: Check the box at the bottom of the window for auto apply this preset to matching images.
- Leave the filter fields (Model, Lens, ISO etc.) empty or at default values (%). This means: “Apply it to EVERY image”.
- Click OK.
From now on, this module will be automatically activated for every new photo you open in Darktable.